FITTING INSTRUCTIONS FOR
AH ASTRA FRONT SKIRT
FD1298
07OCT04
COPYRIGHT
Reproduction in whole or part
prohibited without written approval
HOLDEN LTD
Division of HOLDEN Ltd ACN 006 893 232
Page 1 of 2
Part No. 92148993
TOOLS REQUIRED:
Caulking Gun, Clean Shop Rag, Cleaning Solvent, Felt-tip
Pen, Masking Tape, Polyurethane Adhesive and Primer,
Spring Clamps.
FITTING INSTRUCTIONS:
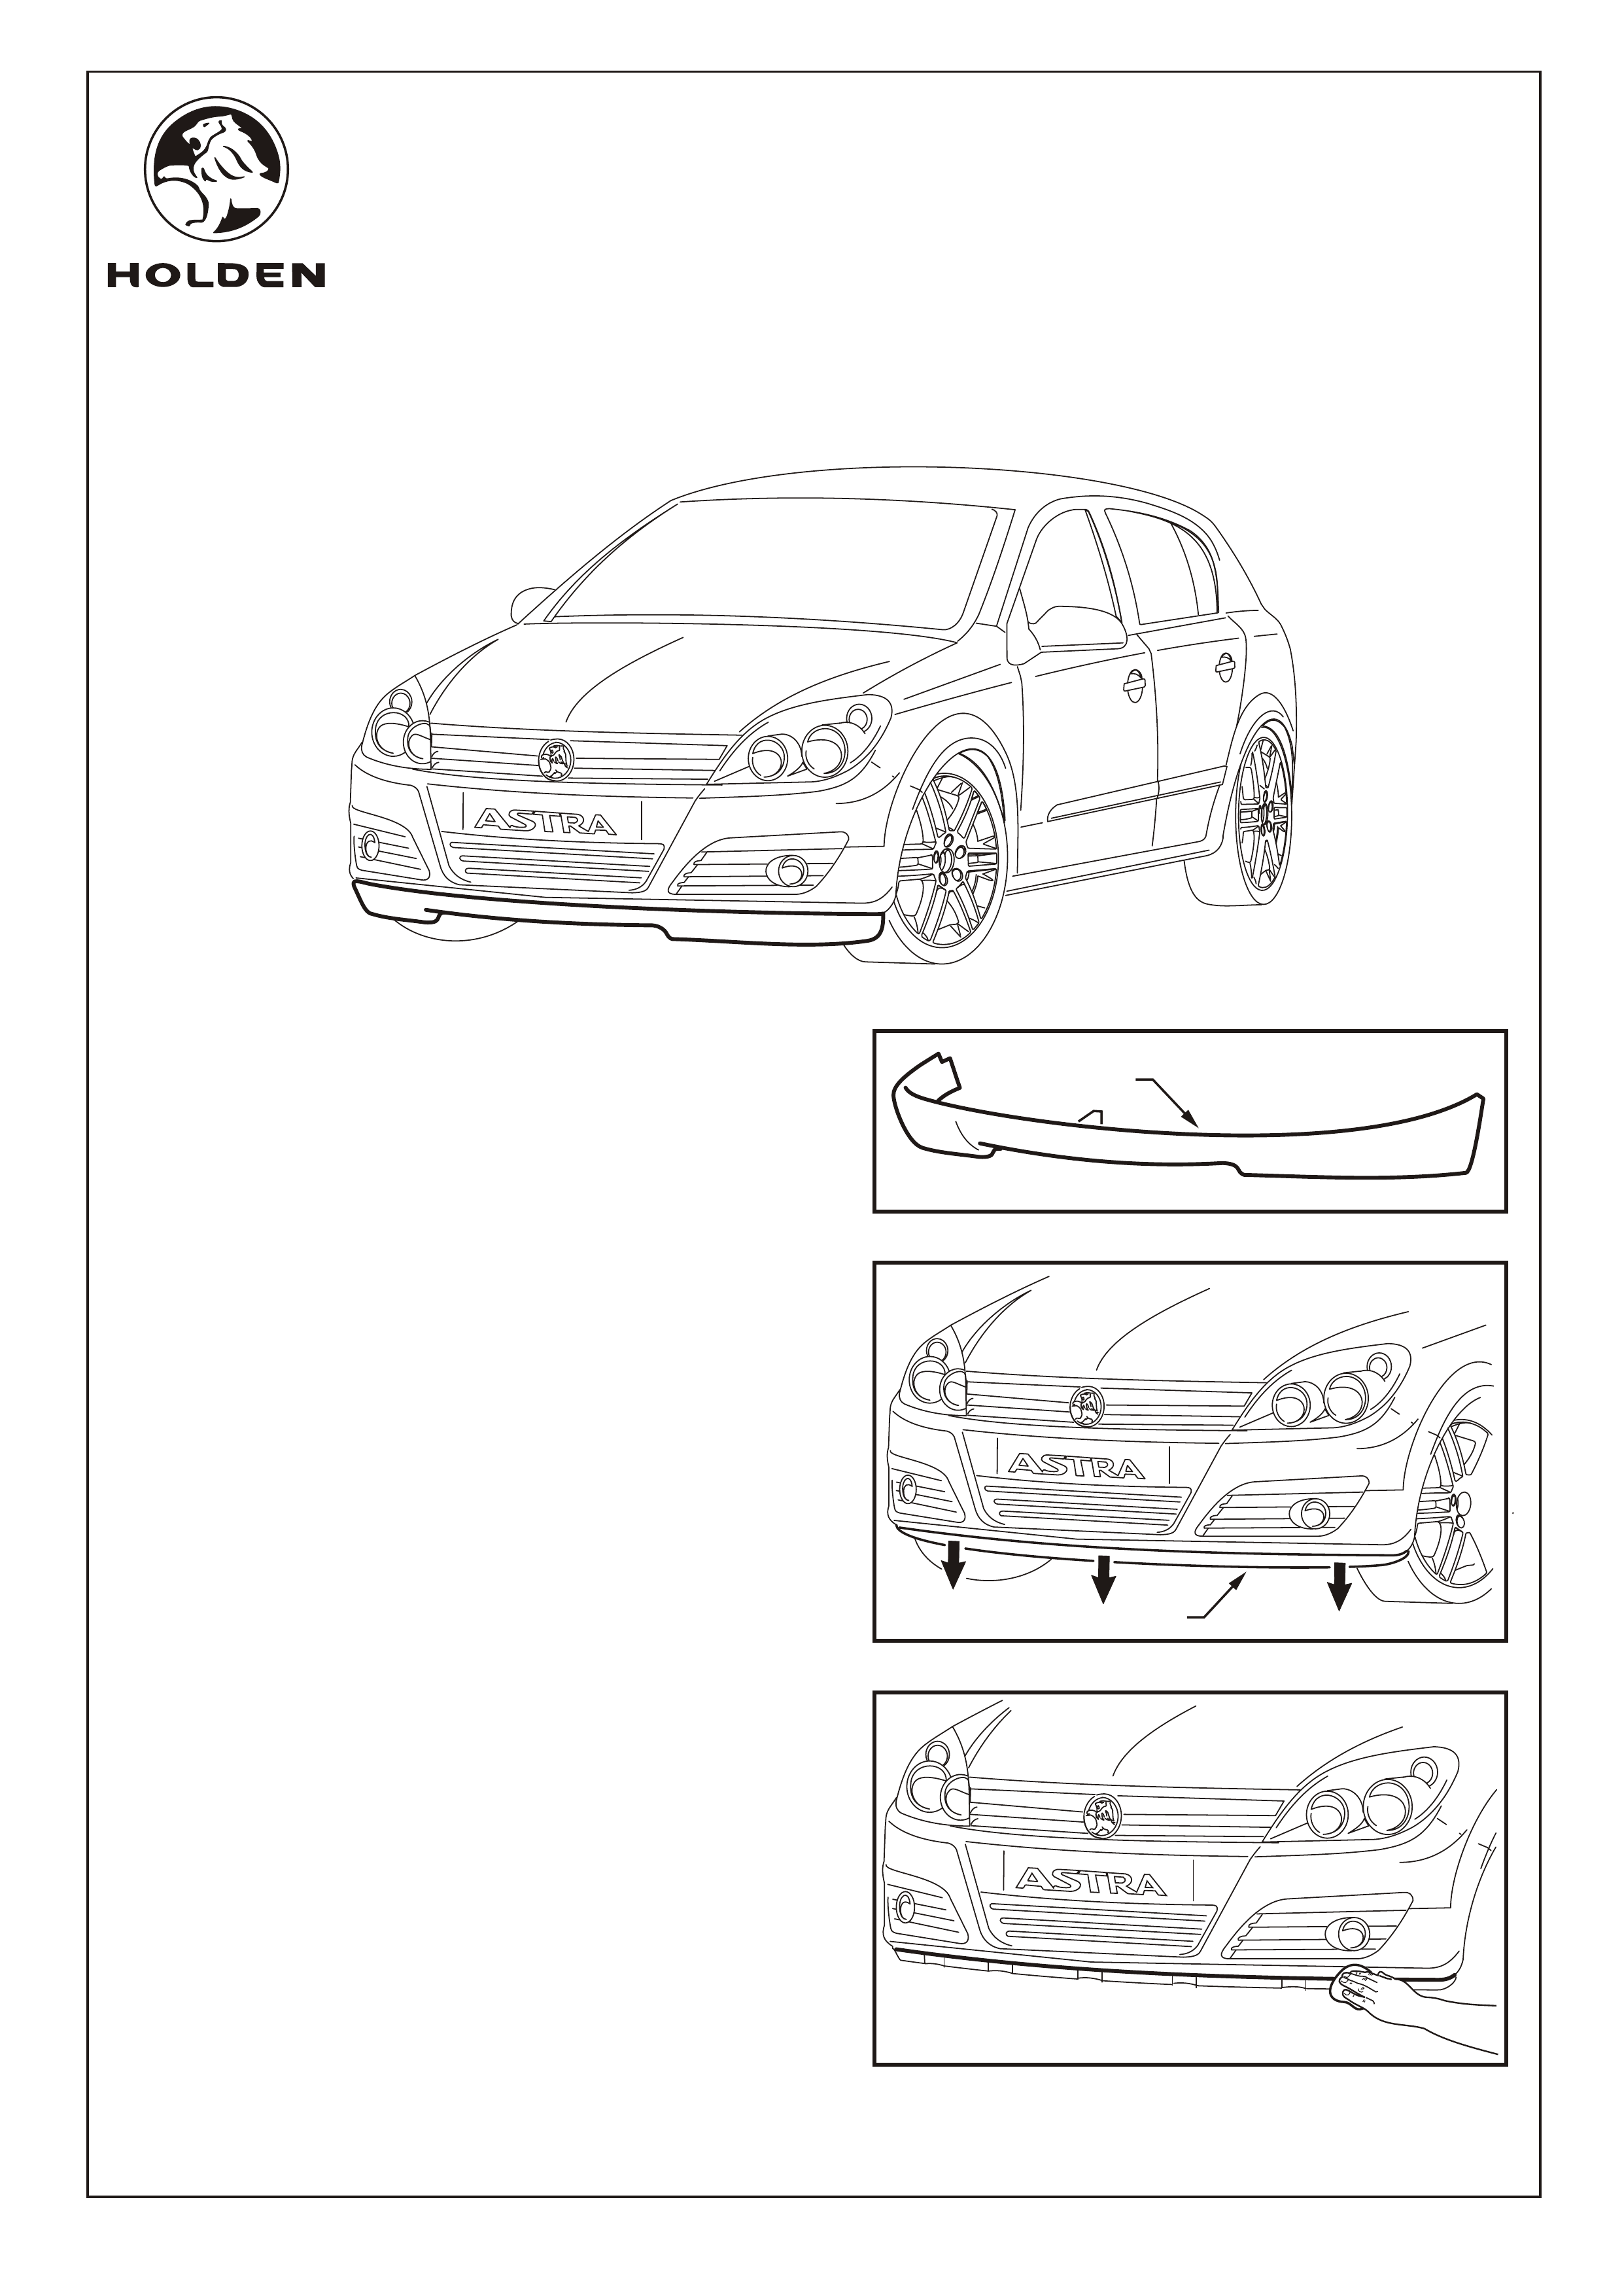
Refer to Figure 1 for the following:
1. The raw front skirt (1) is supplied primed ready for
painting. Prior to painting, mask out the adhesive
grooves. The front skirt should be painted the vehicle
body colour.
NOTE:
Refer to the Service Information for correct painting
preparation and application procedures.
The paint code for the vehicle can be found on the body
option identification plate. The paint code enables
refinish paint to be matched with the original paint colour.
The paint may not exactly match the original colour due
to fade, in which case paint colour matching will be
required. As this is an acquired skill, it is a task that must
be performed by qualified individuals.
2. Remove the existing front skirt (1) and discard. Refer to
Figure 2.
3. Clean the lower portion of the front fascia.
1
FIGURE 1
FIGURE 2
1
FIGURE 3
FITTING INSTRUCTIONS FOR
AH ASTRA FRONT SKIRT
FD1298
07OCT04
COPYRIGHT
Reproduction in whole or part
prohibited without written approval
HOLDEN LTD
Division of HOLDEN Ltd ACN 006 893 232
FITTING INSTRUCTIONS: - continued...
4. Using a felt-tipped pen, mark the position of the front
skirt to allow for correct alignment when bonding.
9. Using the cleaning solvent and rag, remove all fitting
marks and excess adhesive.
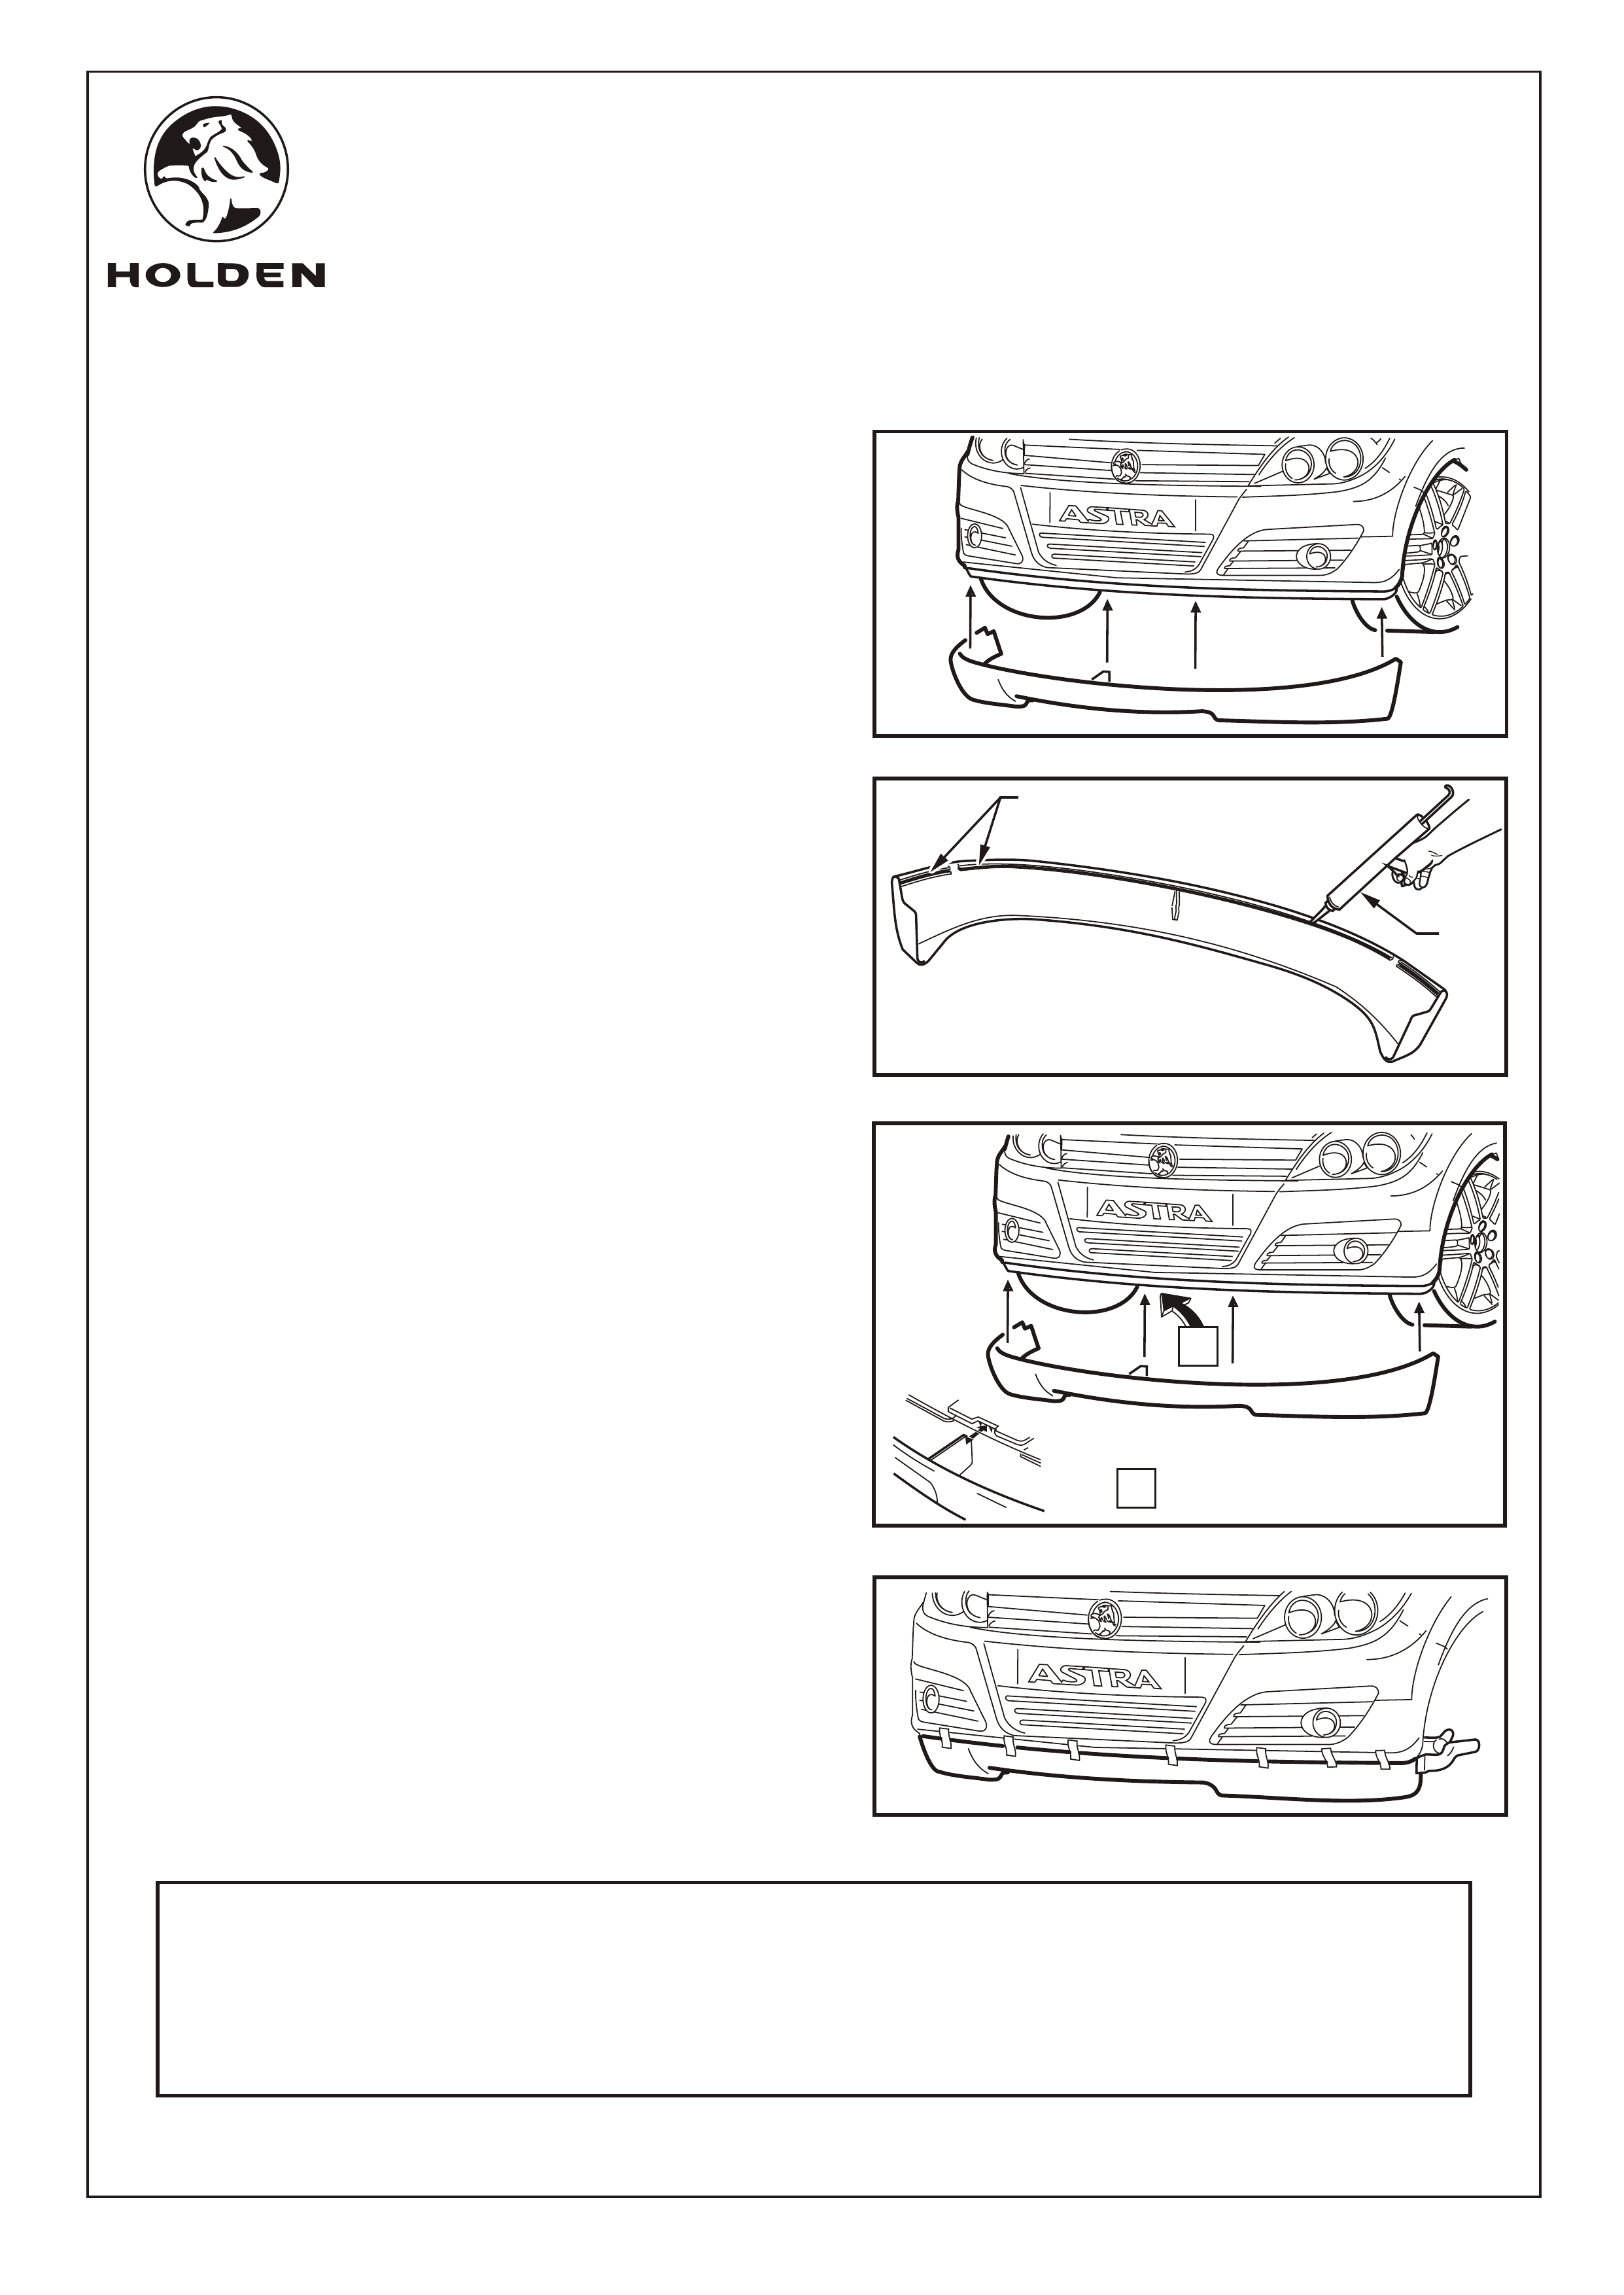
Refer to Figure 3 for the following:
5. Trial fit the front skirt to the front fascia.
Refer to Figure 5 for the following:
NOTE: Refer to adhesive supplier instructions for
bonding requirements.
6. Apply polyurethane primer to the front fascia and front
skirt at the adhesive contact positions.
7. Apply a bead of polyurethane adhesive (1) to the groove
(2) on the upper edge of the front skirt.
Refer to Figure 6 for the following:
8. Position the front skirt onto the front fascia. Ensure that
the tab (1) aligns with the corresponding slot in the front
fascia.
10. Apply spring clamps and masking tape to hold the front
skirt in position during curing of the adhesive. Refer to
Figure 7.
11. Allow at least 12 hours for the adhesive to cure before
driving the vehicle.
12. Place the fitting instructions in the glovebox.
FIGURE 4
FIGURE 5
1
2
A
FIGURE 6
PARTS LIST
PART NUMBER DESCRIPTION QUANTITY
92148993 FRONT SKIRT KIT 1
FRONT SKIRT 1
FD1298 FITTING INSTRUCTIONS 1
FD796 PROOF OF WARRANTY CARD 1
FIGURE 7
VIEW A
Page 2 of 2