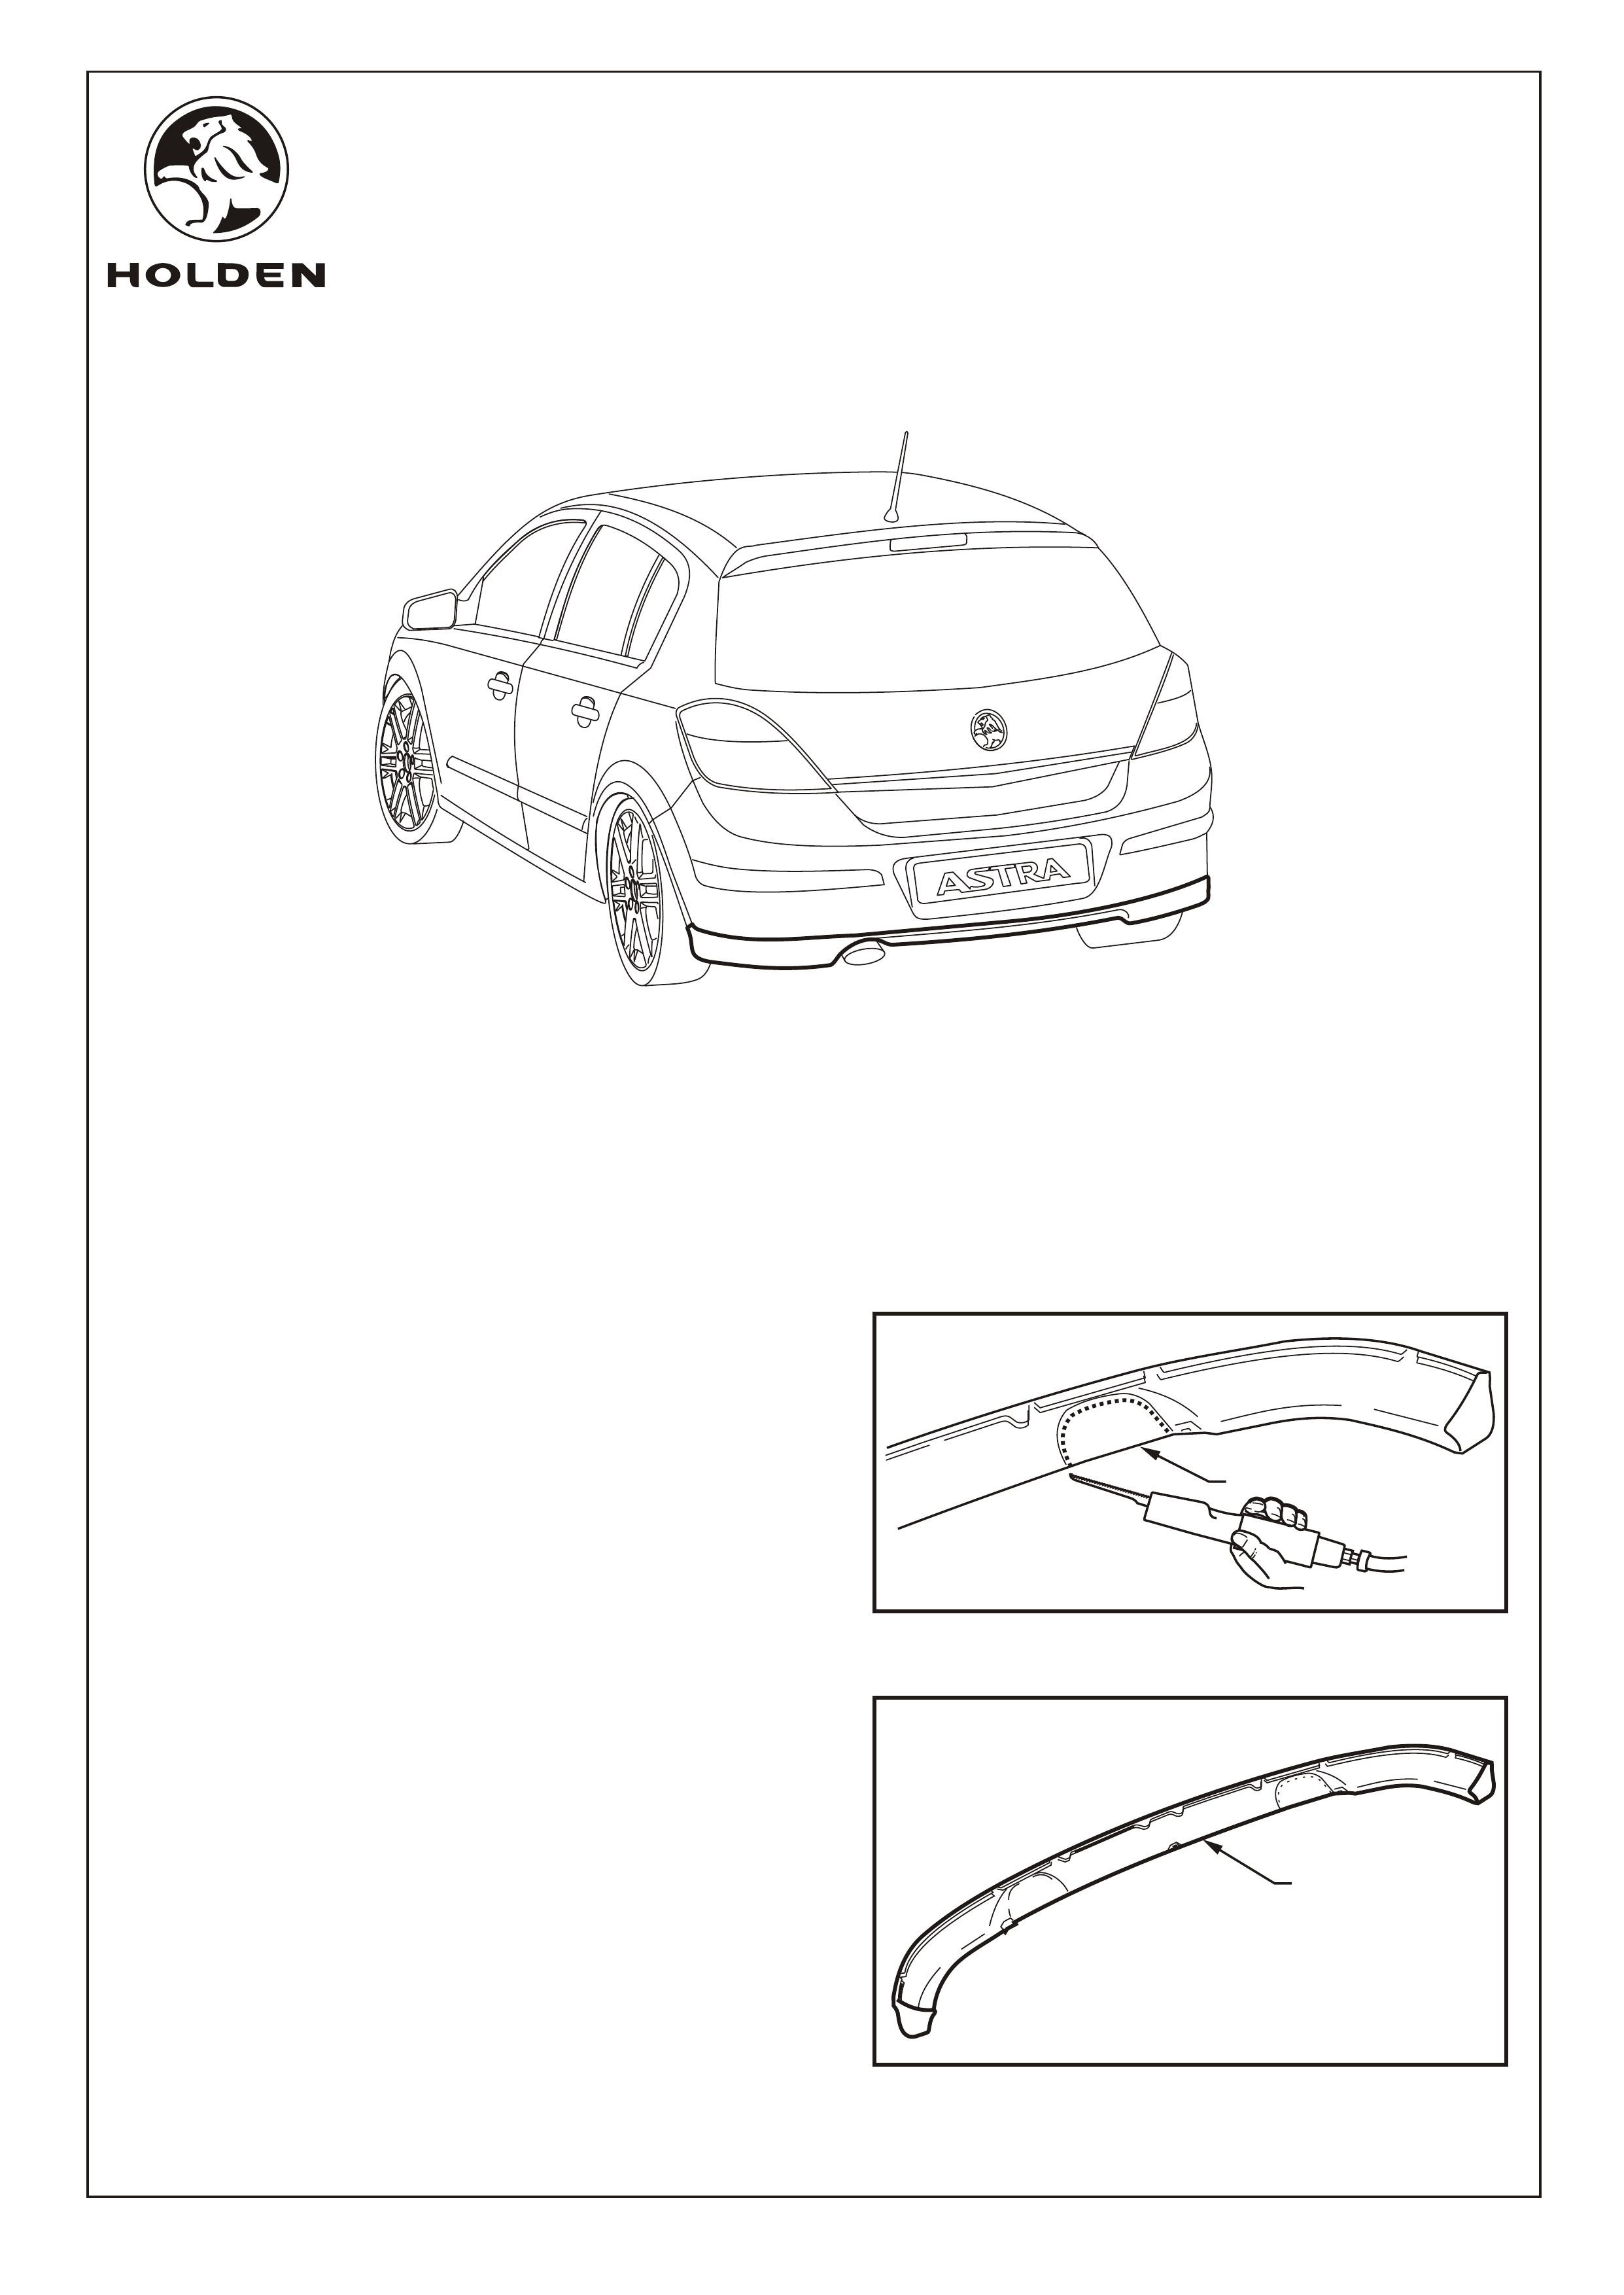
FITTING INSTRUCTIONS FOR
AH ASTRA REAR SKIRT
FD1299
07OCT04
COPYRIGHT
Reproduction in whole or part
prohibited without written approval
HOLDEN LTD
Division of HOLDEN Ltd ACN 006 893 232
Page 1 of 4
Part No. 92148994
TOOLS REQUIRED:
Caulking Gun, Clean Shop Rag, Cleaning Solvent, Felt-tip
Pen, Jigsaw, Masking Tape, Polyurethane Adhesive and
Primer, Spring Clamps, T20 Torx Bit, T25 Torx Bit.
FITTING INSTRUCTIONS:
1. For vehicles with sport exhaust, cut the rear skirt (1) to
provide clearance for the exhaust tip. Smooth the cut
edge and paint it with paint primer. Refer to Figure 1.
Refer to Figure 2 for the following:
2. The raw front skirt (1) is supplied primed ready for
painting. Prior to painting, mask out the adhesive
grooves. The front skirt should be painted the vehicle
body colour.
NOTE:
Refer to the Service Information for correct painting
preparation and application procedures.
The paint code for the vehicle can be found on the body
option identification plate. The paint code enables
refinish paint to be matched with the original paint colour.
The paint may not exactly match the original colour due
to fade, in which case paint colour matching will be
required. As this is an acquired skill, it is a task that must
be performed by qualified individuals.
FIGURE 1
FIGURE 2
1
1
FITTING INSTRUCTIONS FOR
AH ASTRA REAR SKIRT
FD1299
07OCT04
COPYRIGHT
Reproduction in whole or part
prohibited without written approval
HOLDEN LTD
Division of HOLDEN Ltd ACN 006 893 232
FITTING INSTRUCTIONS: - continued...
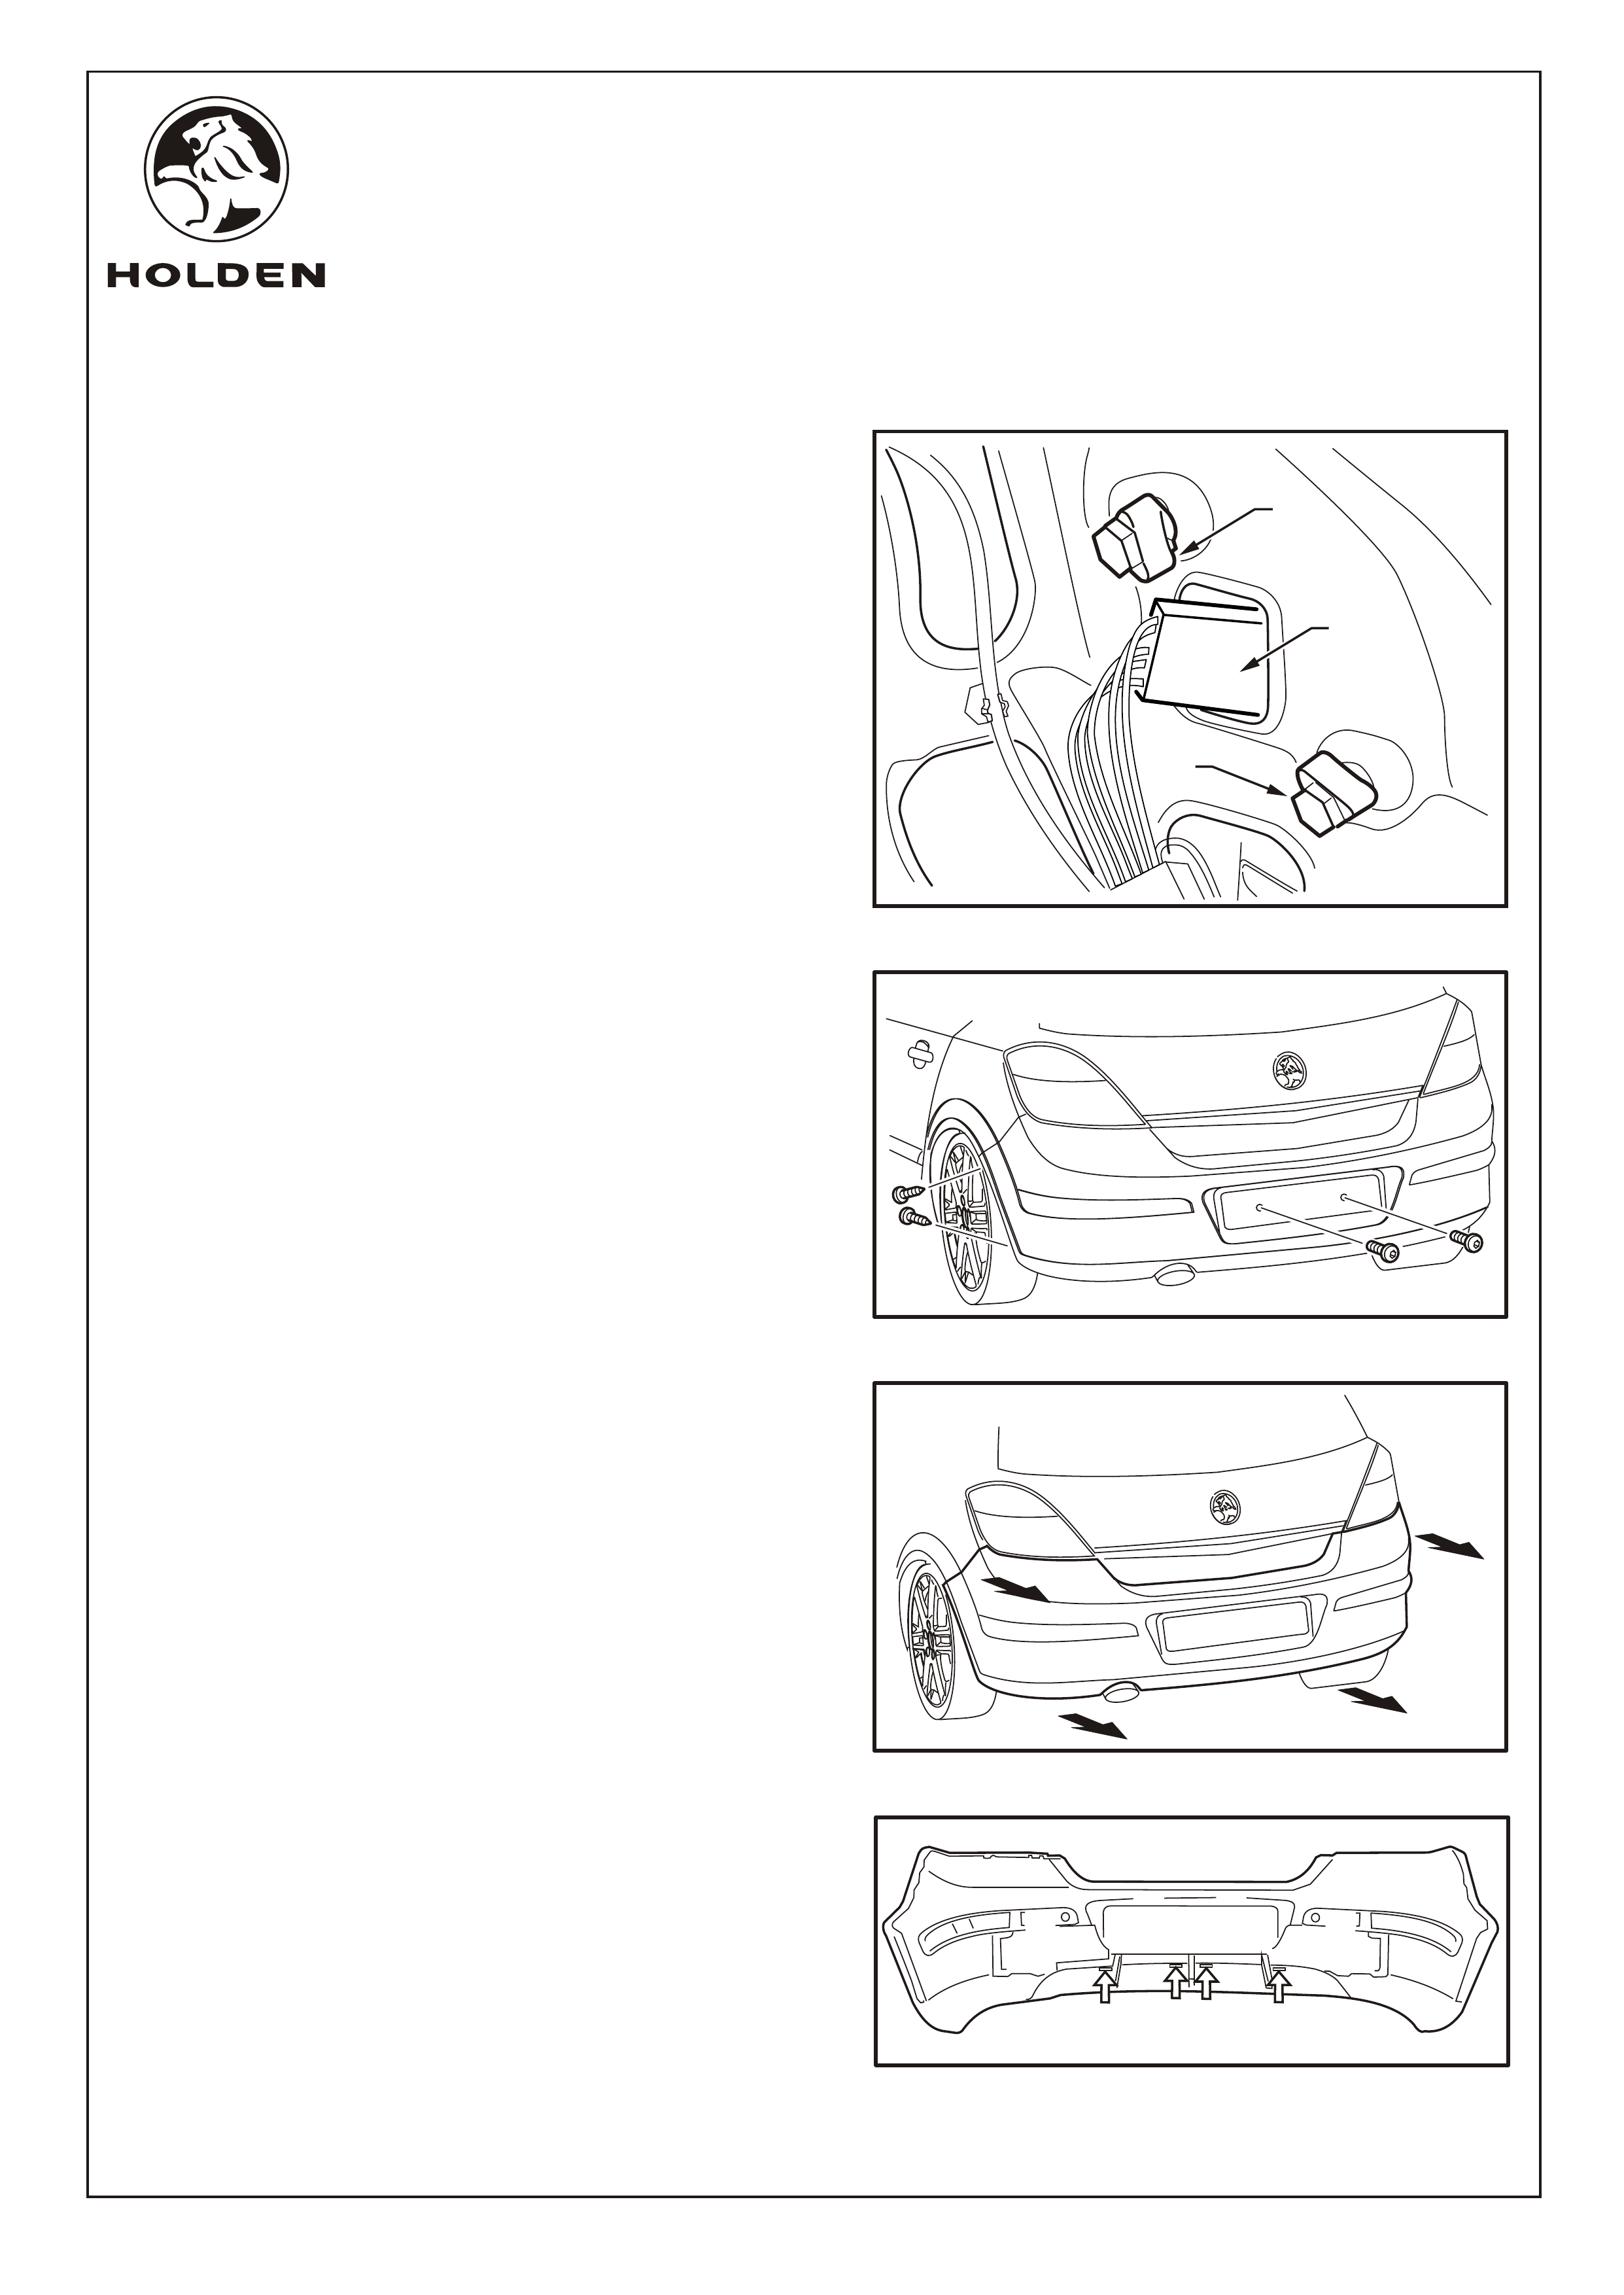
Refer to Figure 3 for the following:
3. Open the access covers.
4. Disconnect the connector (1) from the lamp assembly.
5. Remove the retainers (2) (2 places each side) retaining
the lamp assembly.
6. Remove the left and right lamp assemblies.
7. Remove the fasteners (typically four screws) attaching
the licence plate to the rear fascia. Remove the licence
plate.
8. Disconnect the two wiring harness plugs from the
licence plate lamps.
9. If fitted, disconnect the reverse park sensors.
Refer to Figure 4 for the following:
10. Using a T20 Torx bit, remove screws (2 places) in each
wheel arch.
11. Using a T25 Torx bit, remove the two center bolts from
the licence plate panel.
Refer to Figure 5 for the following:
CAUTION: The rear fascia may be damaged if care is
not taken during removal.
12. Carefully disengage rear fascia from the guide rails.
With the aid of an assistant, push the side of the rear
fascia upwards in the guide rail area and at the same
time pull outwards away from vehicle (3).
13. Identify the positions to be cut out. Refer to Figure 6.
FIGURE 3
2
2
1
Page 2 of 4
FIGURE 5
FIGURE 6
FIGURE 4
FITTING INSTRUCTIONS FOR
AH ASTRA REAR SKIRT
FD1299
07OCT04
COPYRIGHT
Reproduction in whole or part
prohibited without written approval
HOLDEN LTD
Division of HOLDEN Ltd ACN 006 893 232
Page 3 of 4
FITTING INSTRUCTIONS: - continued...
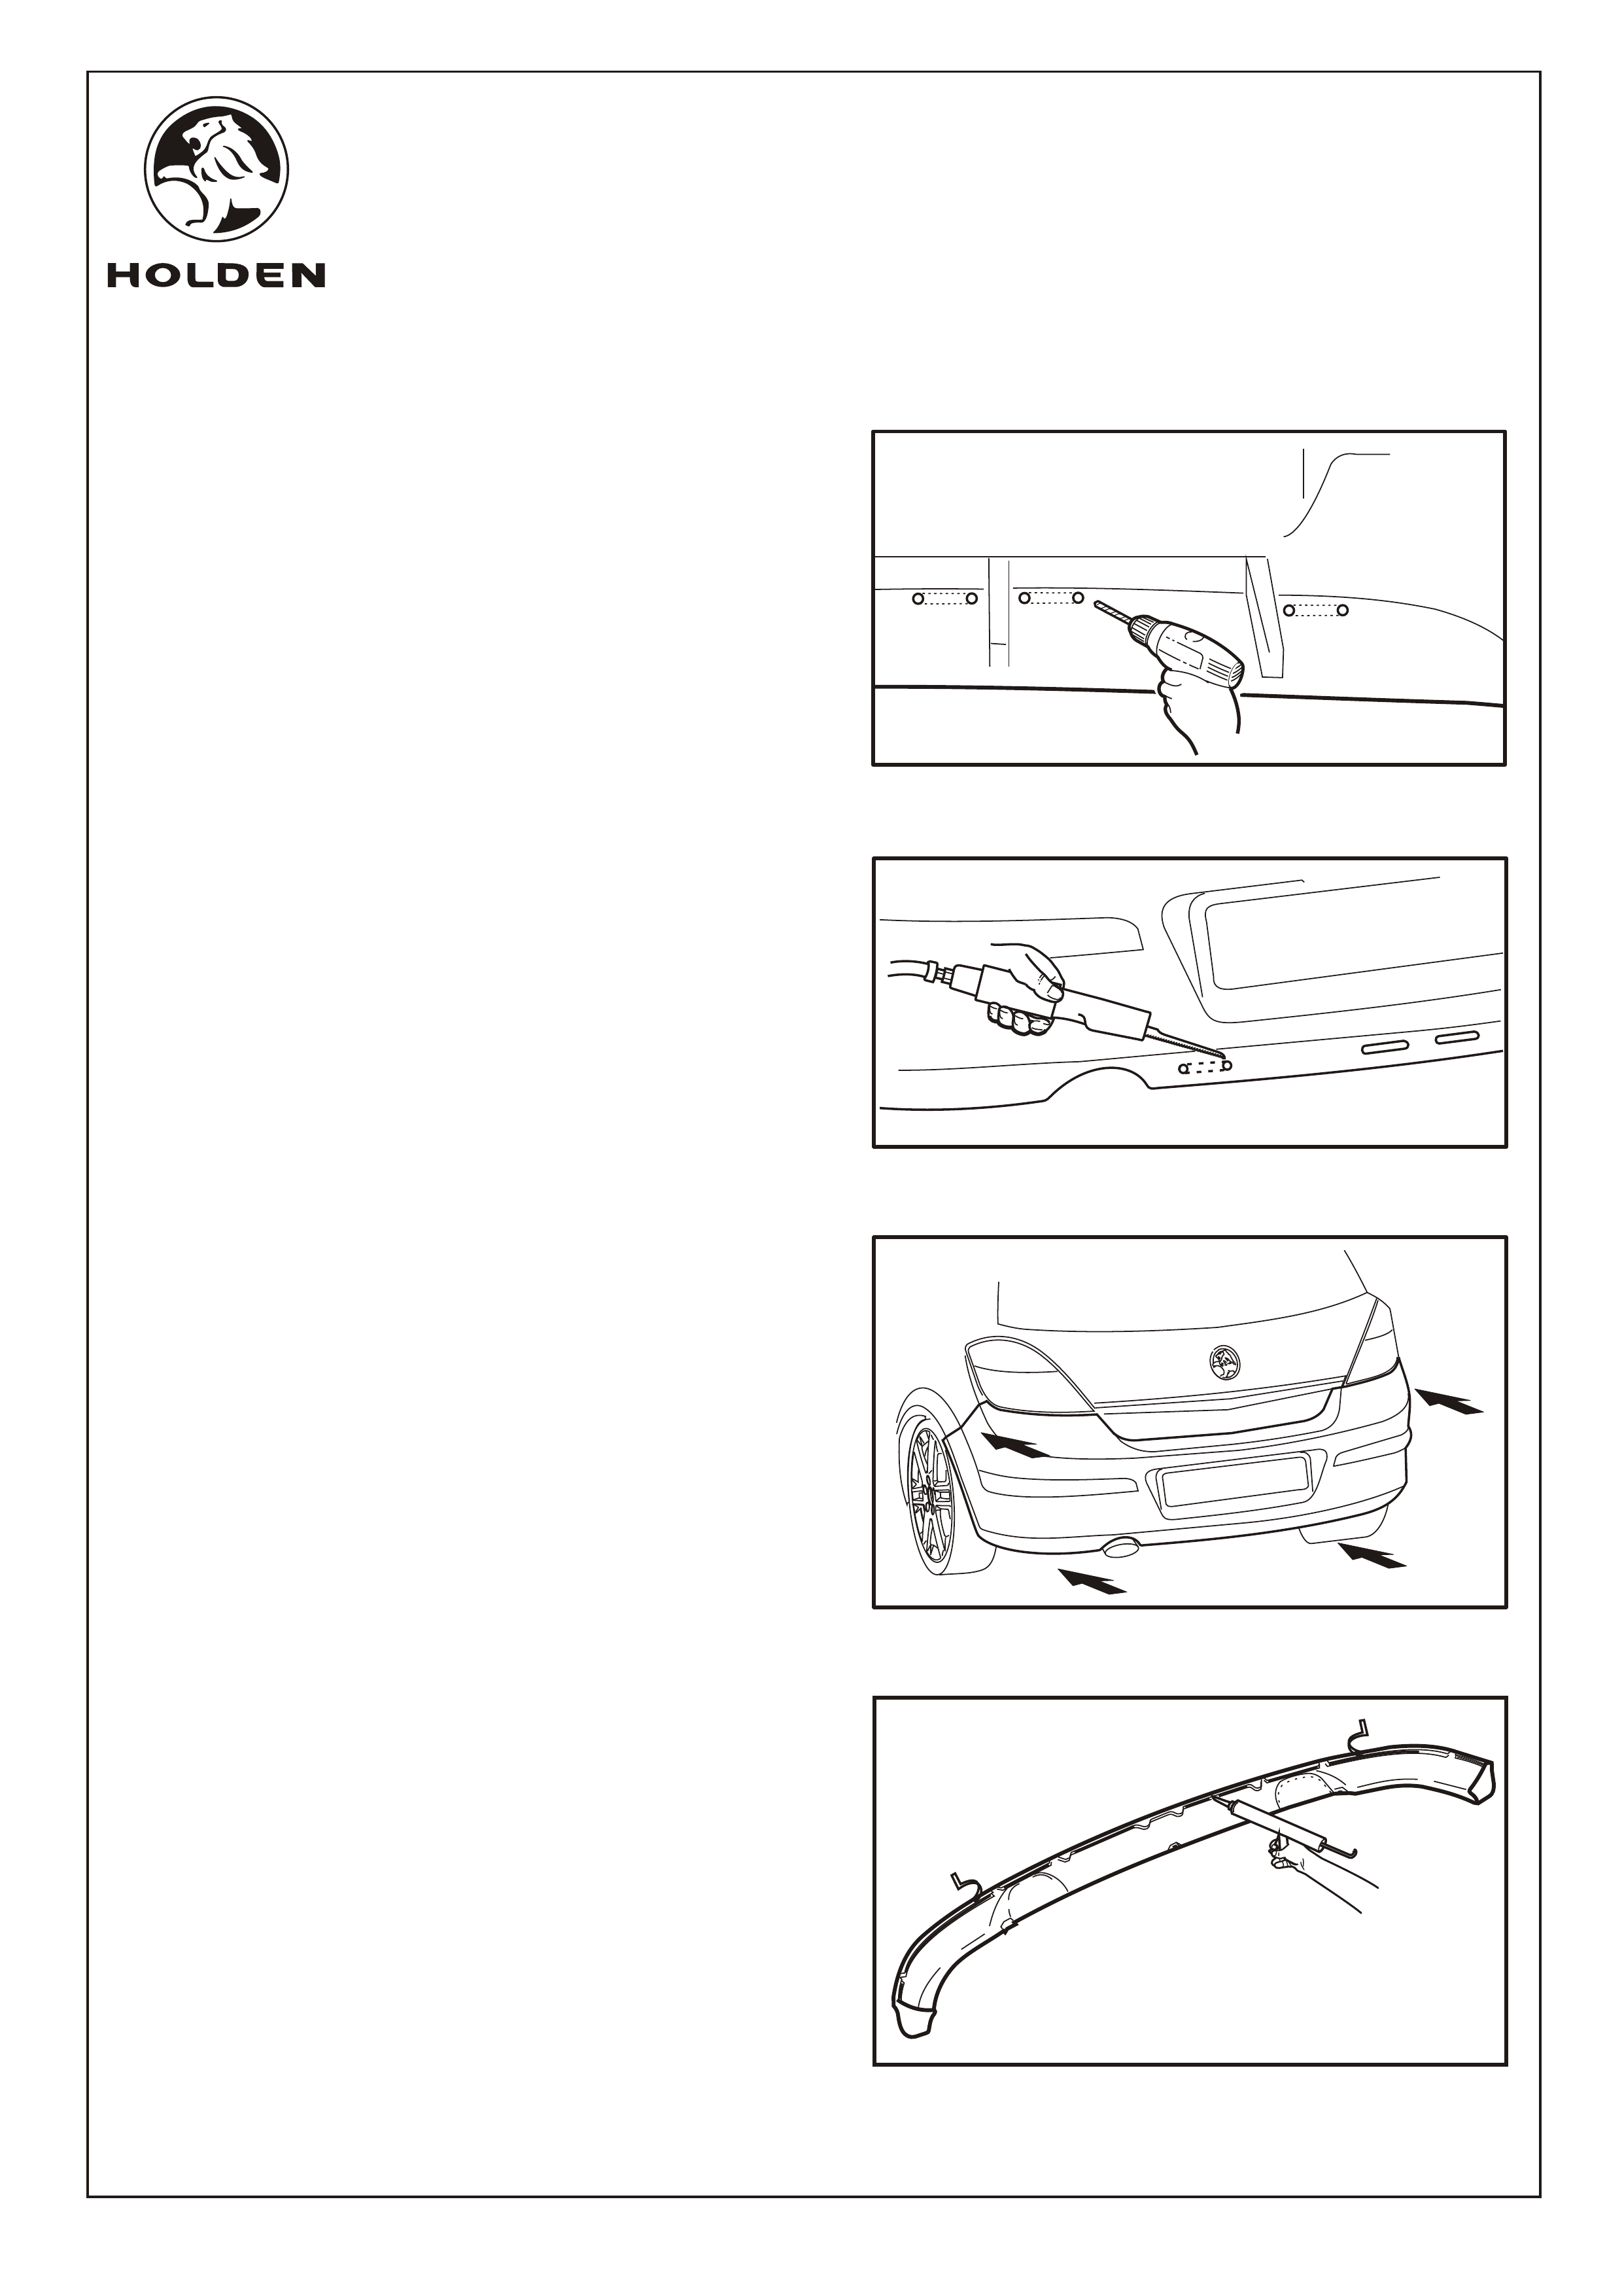
14. Use a 4.5mm diameter drill bit to drill the ends of the
slots. Refer to Figure 7.
Refer to Figure 8 for the following:
15. Cut out the slots.
16. Trial fit the rear skirt to the rear fascia.
17. Using a felt-tipped pen, mark the position of the rear skirt
to allow for correct alignment when bonding.
18. Install the rear fascia, tail lamp assemblies, licence plate
and licence plate lamps. Refer to Figure 9.
Refer to Figure 10 for the following:
NOTE: Refer to adhesive supplier instructions for
bonding requirements.
19. Apply polyurethane primer to the rear fascia and rear
skirt at the adhesive contact positions.
20. Apply polyurethane adhesive to the groove at the top
edge of the rear skirt.
21. Pull the adhesive tape backing back 50mm and fold out
(2 places).
FIGURE 8
FIGURE 7
FIGURE 10
FIGURE 9
FITTING INSTRUCTIONS FOR
AH ASTRA REAR SKIRT
FD1299
07OCT04
COPYRIGHT
Reproduction in whole or part
prohibited without written approval
HOLDEN LTD
Division of HOLDEN Ltd ACN 006 893 232
Page 4 of 4
FIGURE 11
FITTING INSTRUCTIONS: - continued...
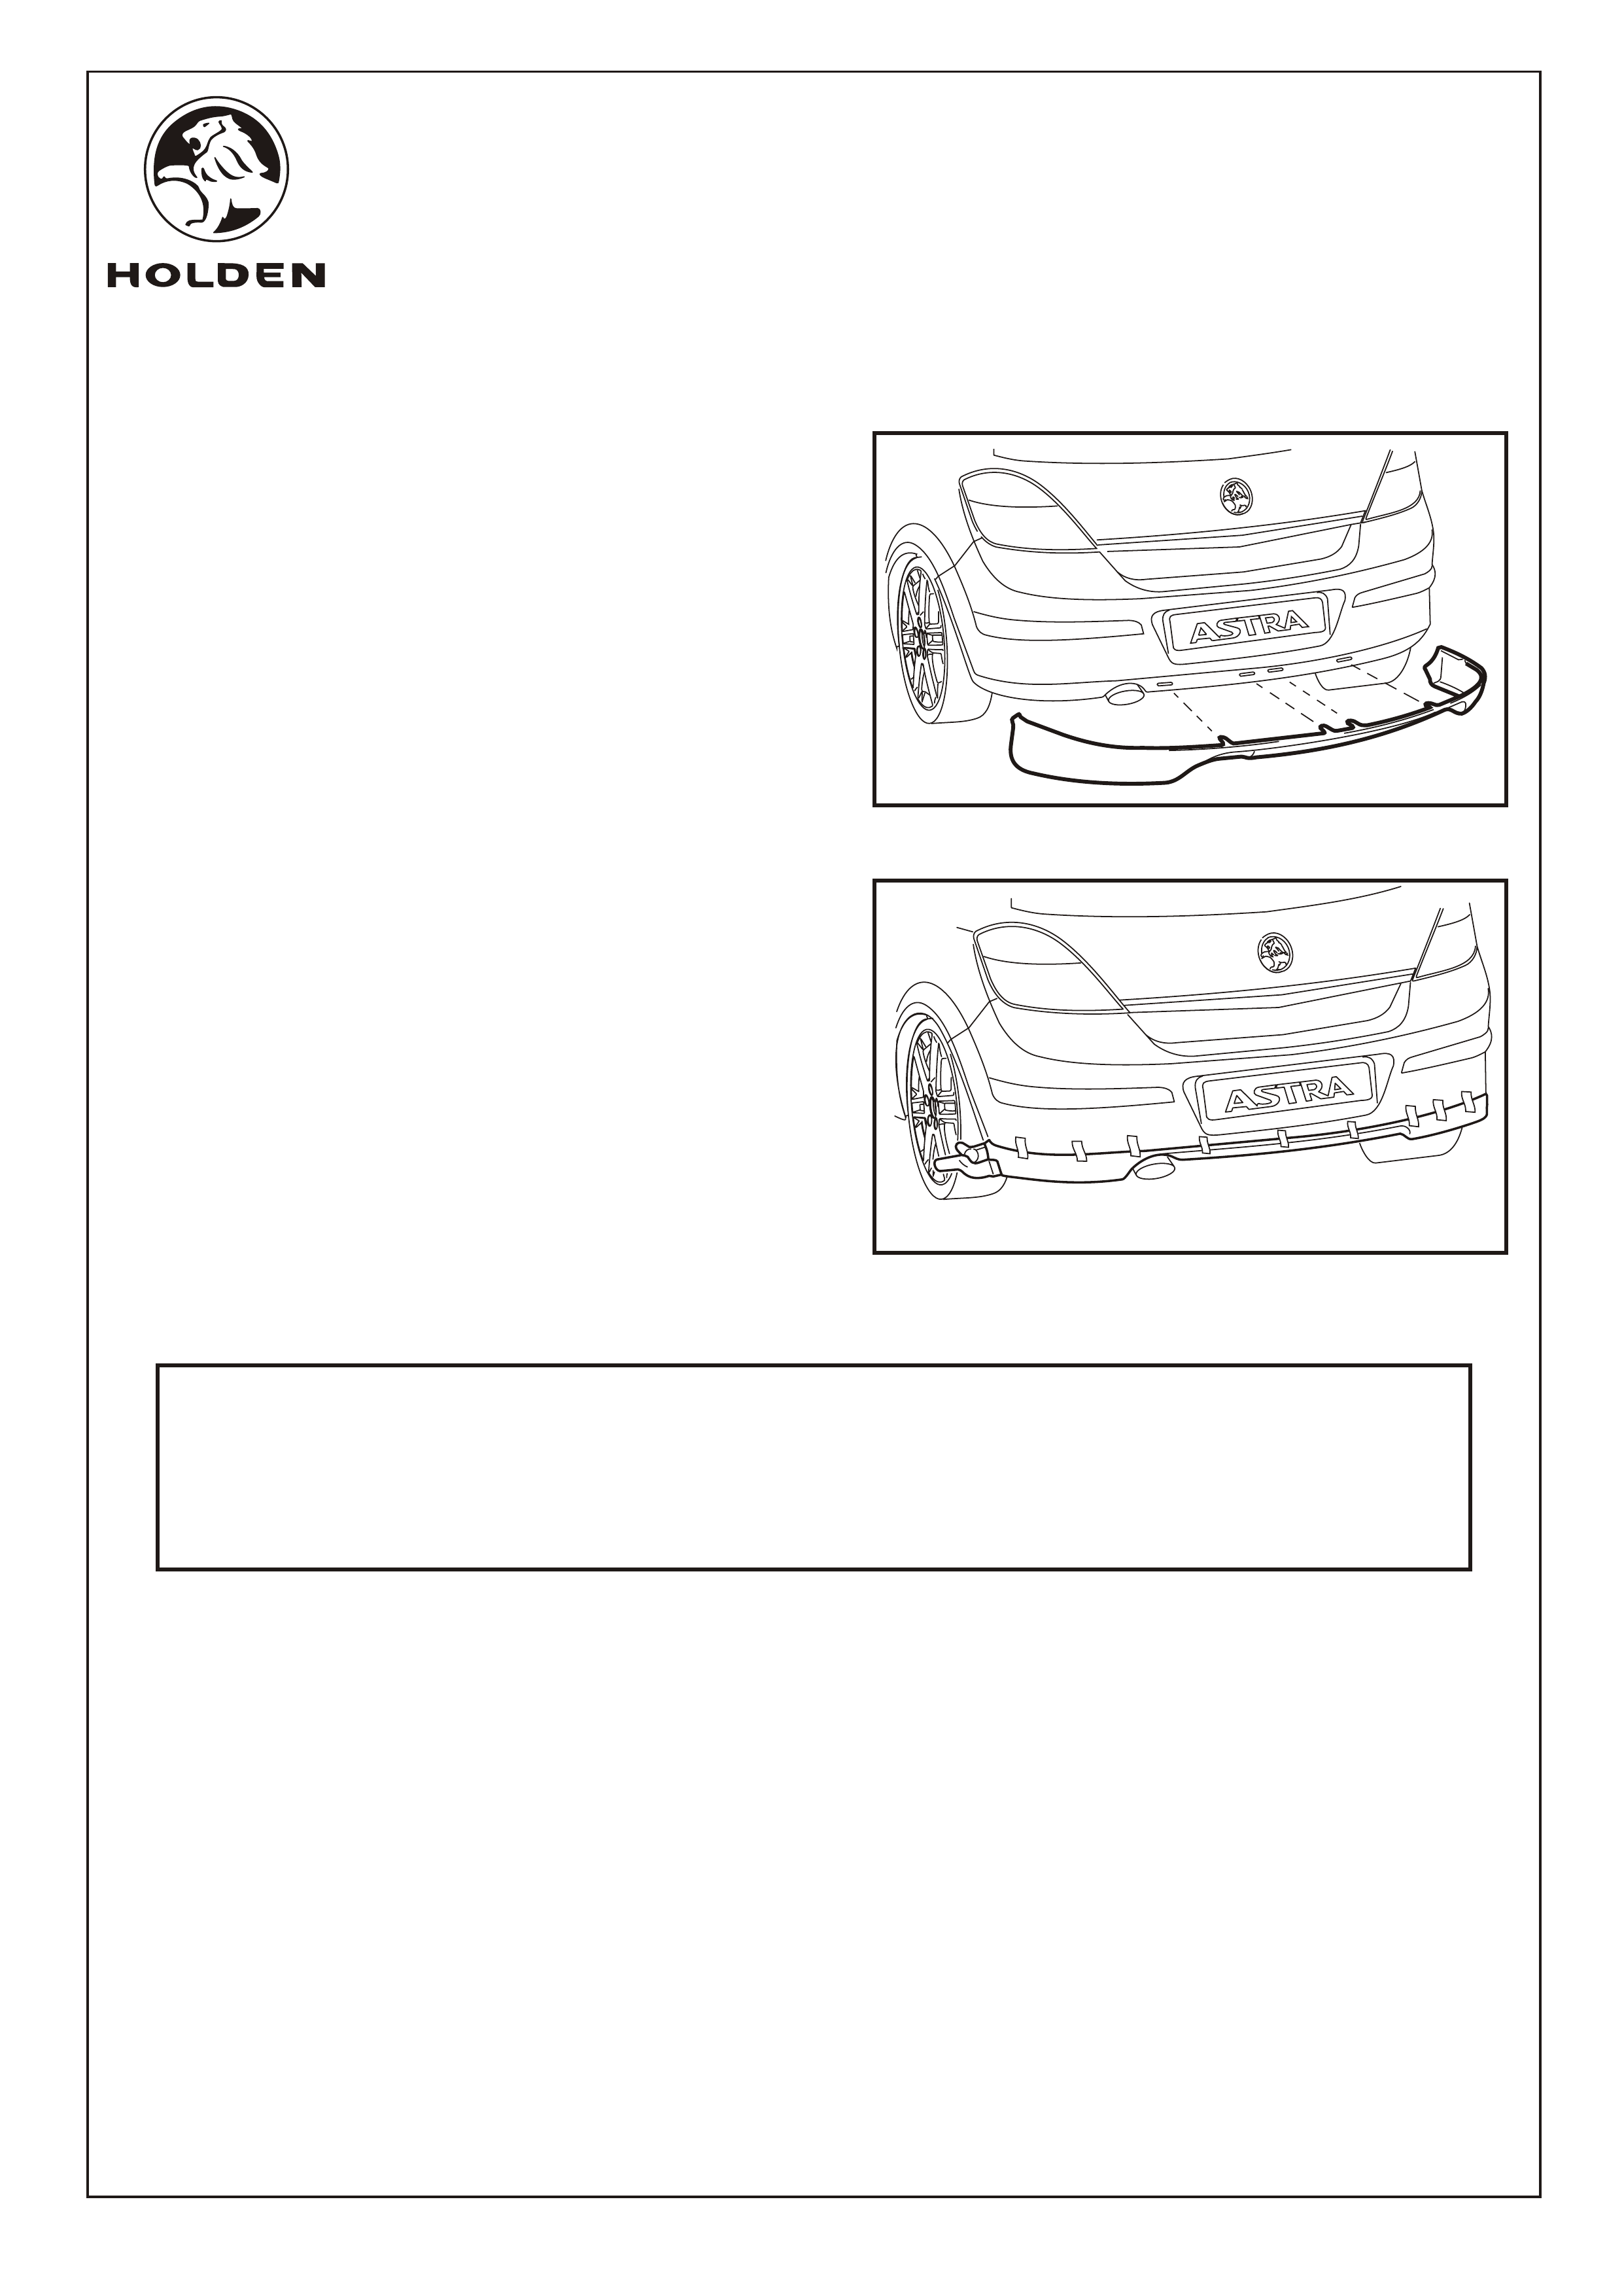
Refer to Figure 11 for the following:
22. Carefully position the rear skirt and apply light pressure
around the perimeter to position the rear skirt.
23. Remove the adhesive tape backing and press the rear
skirt into position.
24. Using the cleaning solvent and rag, remove all fitting
marks and excess adhesive.
Refer to Figure 12 for the following
25. Apply spring clamps and masking tape to hold the front
skirt in position during curing of the adhesive.
26. Allow at least 12 hours for the adhesive to cure before
driving the vehicle.
27. Reinstall all removed components.
28. Place the fitting instructions in the glovebox.
FIGURE 12
PARTS LIST
PART NUMBER DESCRIPTION QUANTITY
92148994 REAR SKIRT KIT 1
REAR SKIRT 1
FD1299 FITTING INSTRUCTIONS 1
FD796 PROOF OF WARRANTY CARD 1