HOLDEN LTD
Division of HOLDEN Ltd ACN 006 893 232
COPYRIGHT
Reproduction in whole or part
prohibited without written approval
FD1248
08DE04
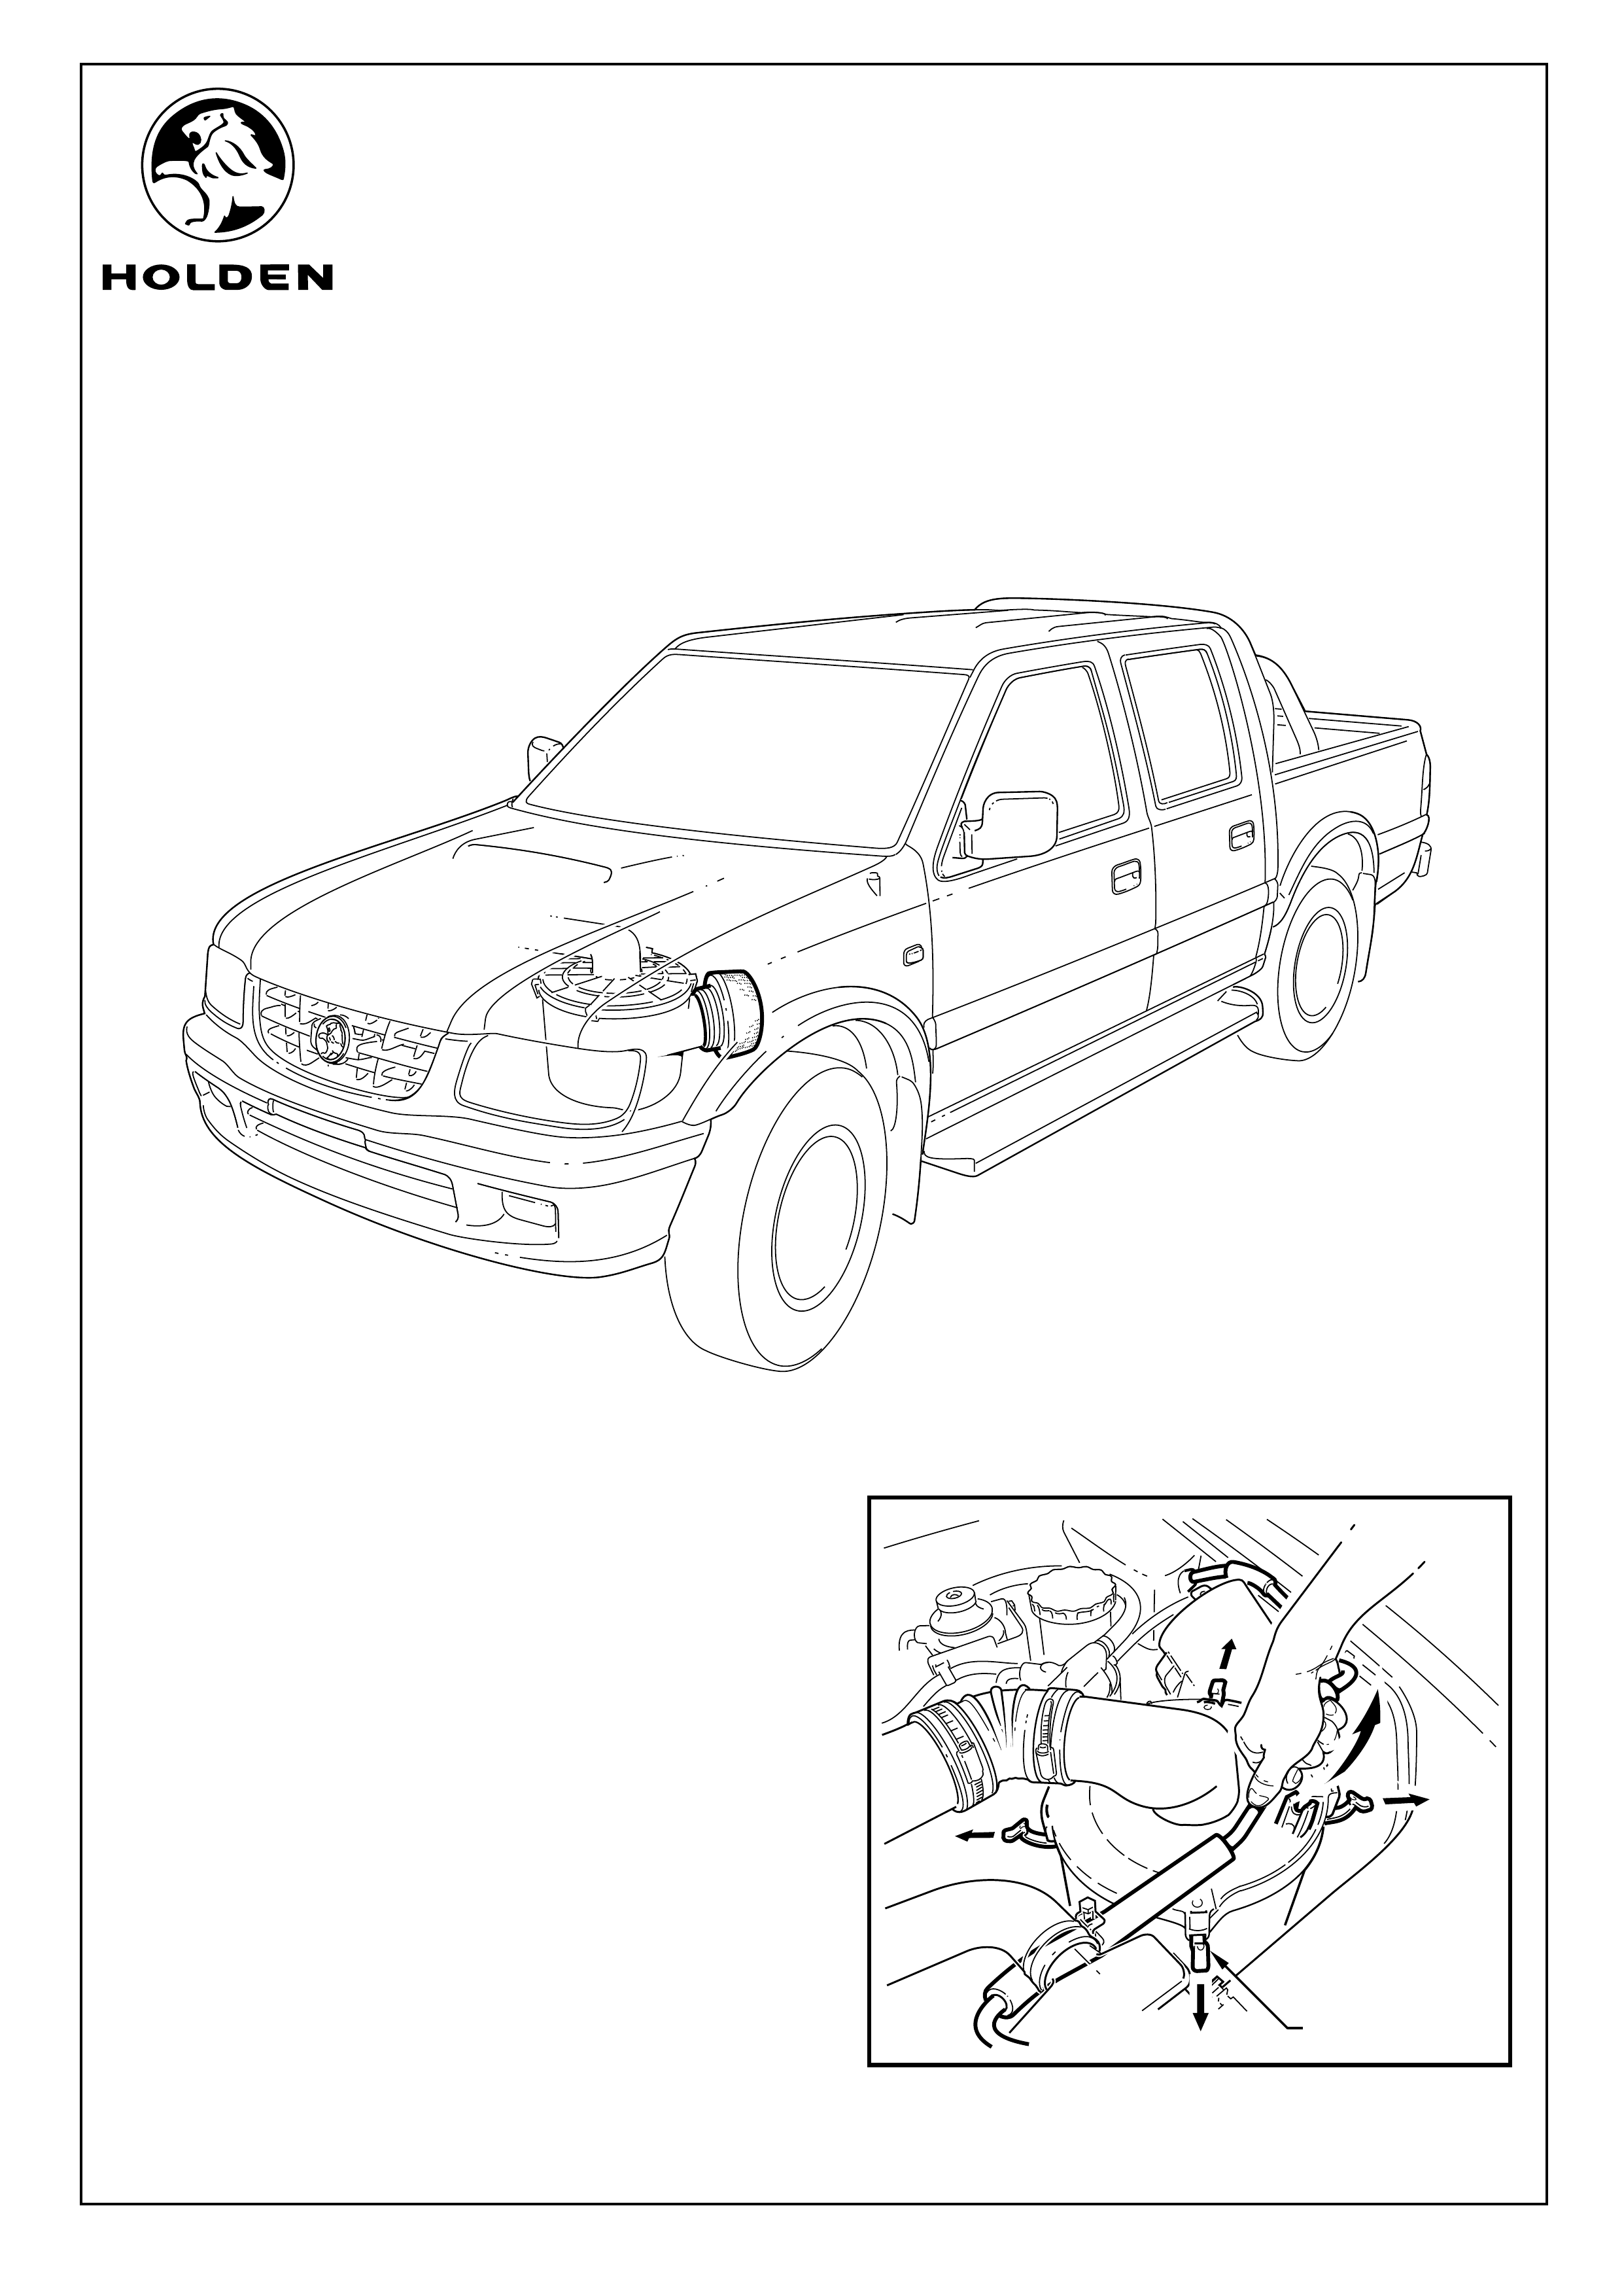
FITTING INSTRUCTIONS FOR
R9 RODEO DIESEL (4JB1) AIR PRE-CLEANER
Page 1 of 5
TOOLS REQUIRED:
Flat Blade Screwdriver, 12mm Socket, 10mm Socket,
Torque Wrench, Ratchet Extension, Side Cutters.
FIGURE 1
1
FITTING INSTRUCTIONS:
NOTE: The removal of the cyclonic pre-cleaner and the
resonator pipe are similar for the purpose of these
instructions the cyclonic pre-cleaner is shown.
1. Release clips (1), four places, fastening air cleaner
cover to air cleaner body. Refer to Figure 1.
Part No. 92148788
HOLDEN LTD
Division of HOLDEN Ltd ACN 006 893 232
COPYRIGHT
Reproduction in whole or part
prohibited without written approval
FD1248
08DE04
Page 2 of 5
FIGURE 4
2
1
3
FRONT
OF
VEHICLE
FIGURE 3
1
2
FIGURE 2
4
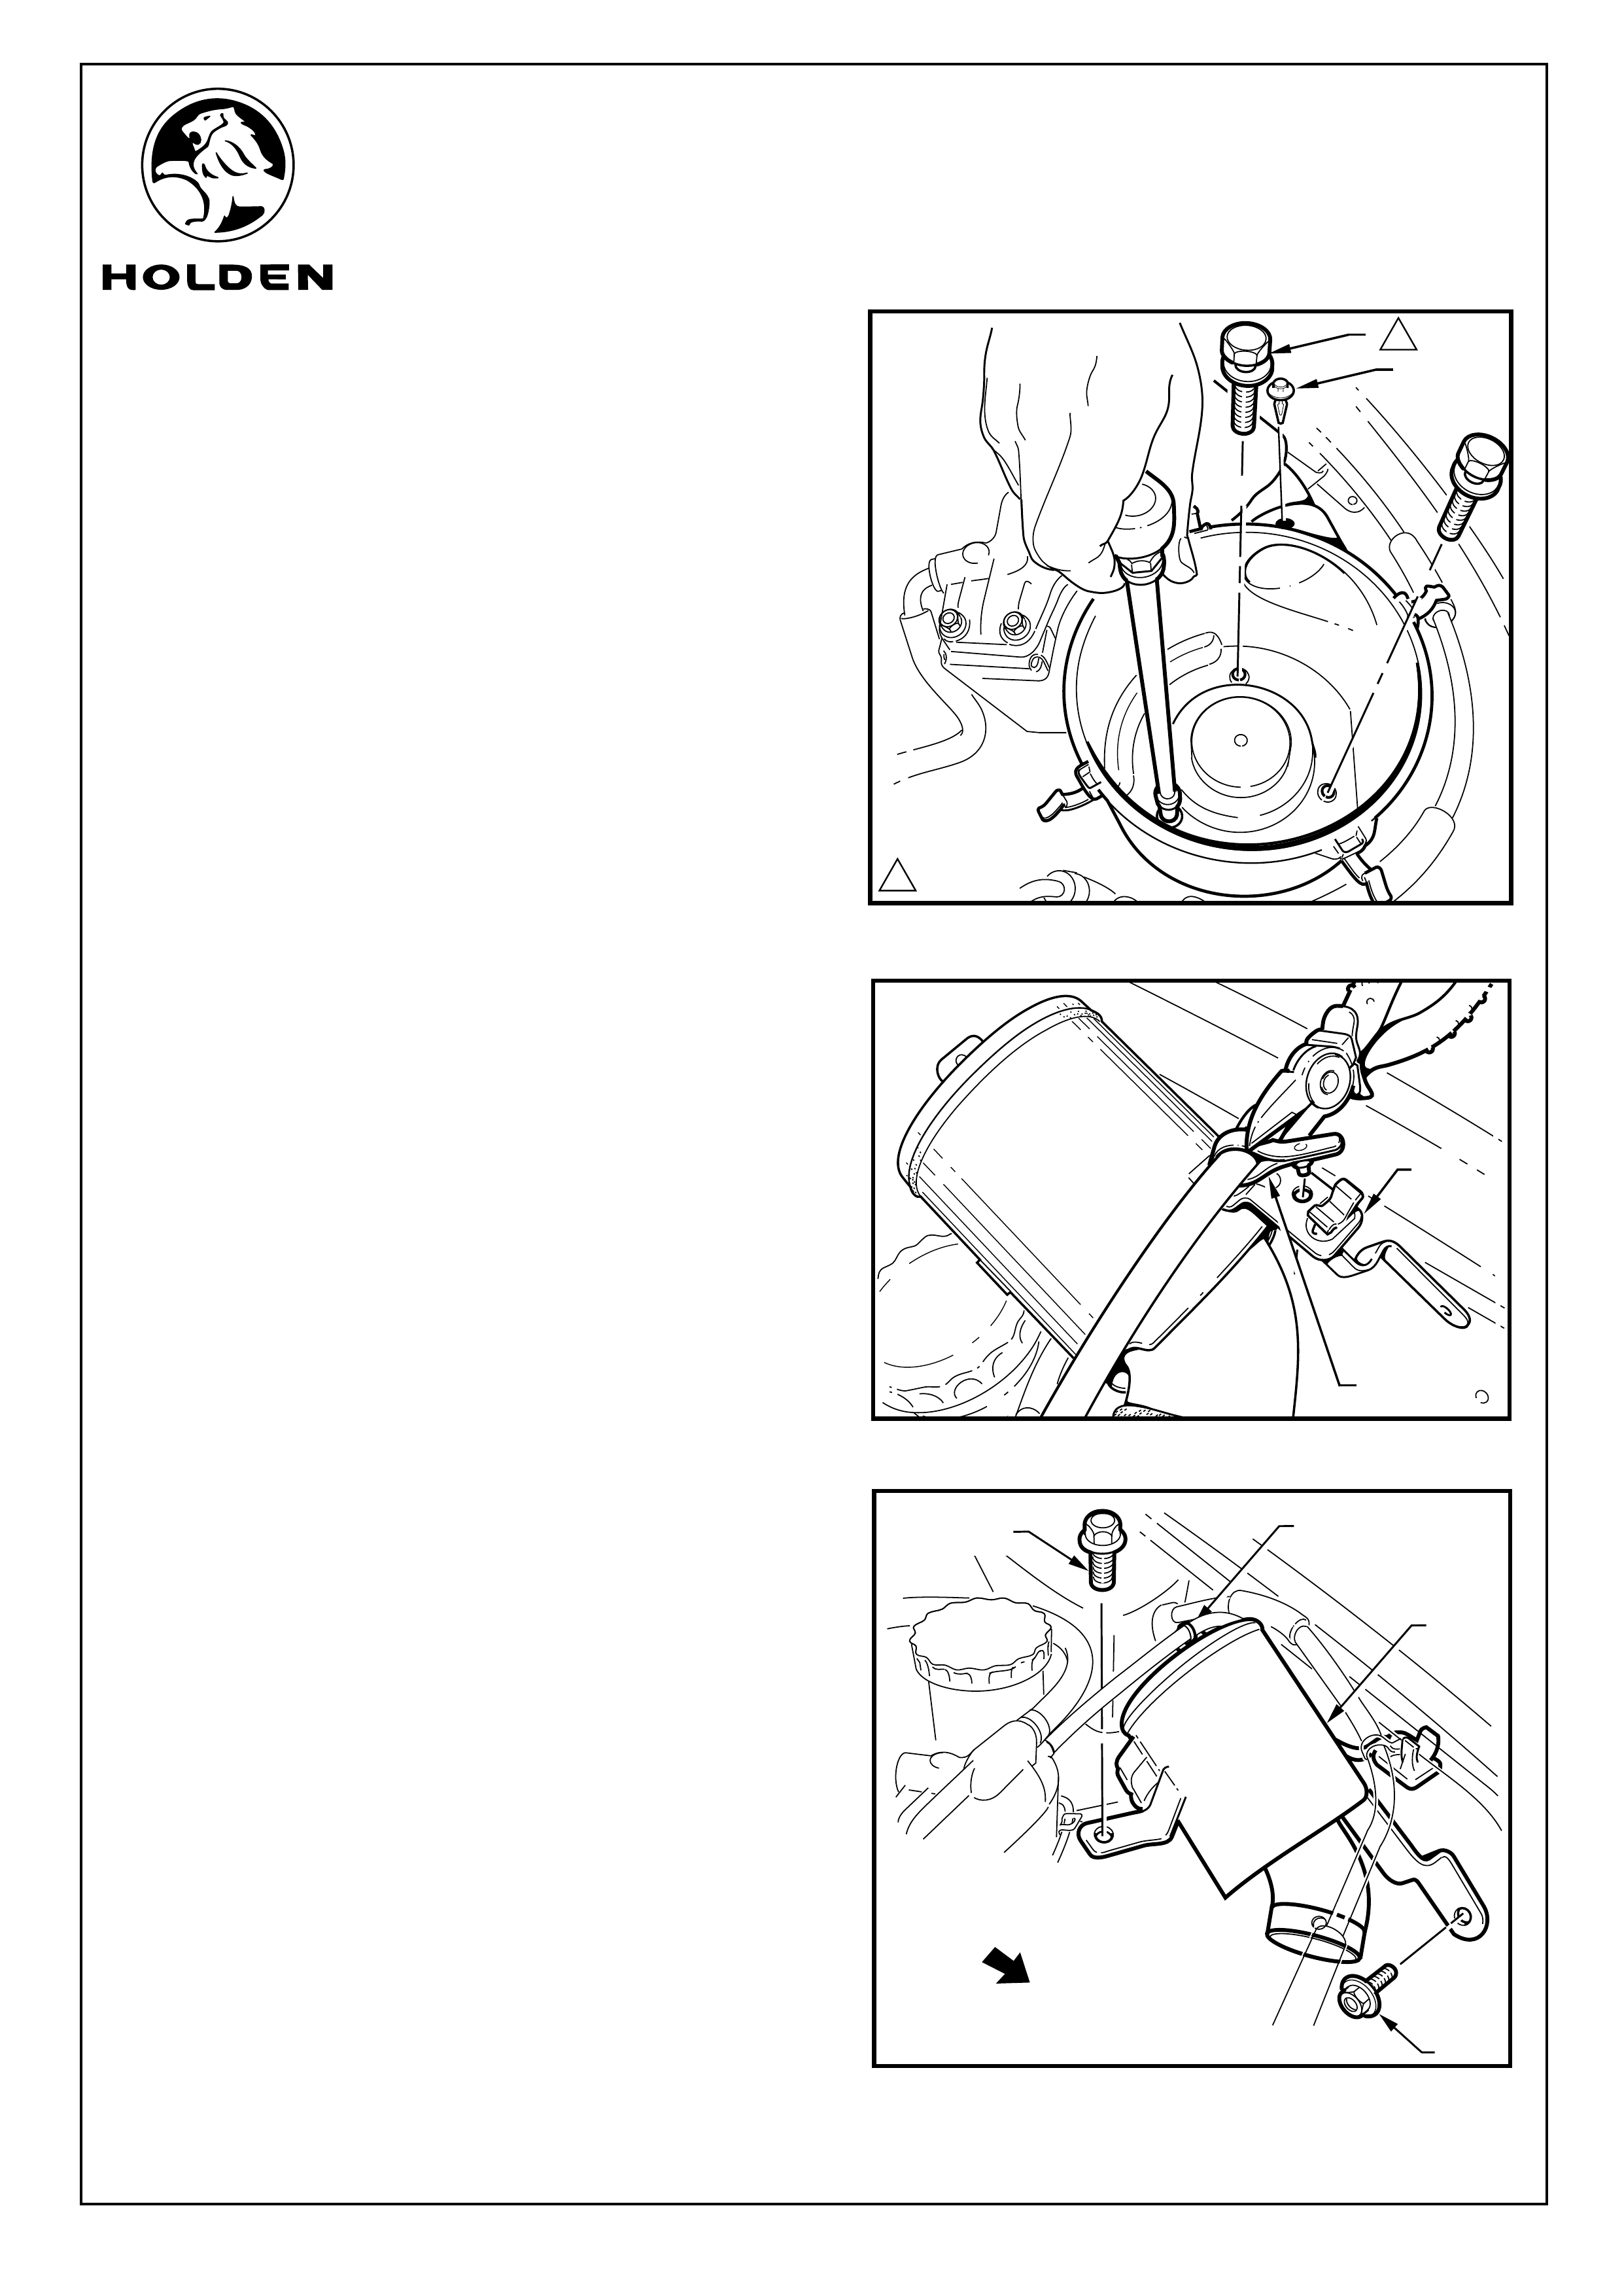
FITTING INSTRUCTIONS: Continued ...
Refer to Figure 2 for the following:
2. Remove the scrivet (1) holding the cyclonic pre-cleaner
to the cleaner body.
3. Remove air cleaner body retaining bolts (1), (3 places),
and the air cleaner body to side.
4. Cut and remove nylon hose clip (1) that attaches
overflow hose to cyclonic air pre-cleaner mount bracket
(2). Refer to Figure 3.
Refer to Figure 4 for the following:
5. Remove retaining bolt (1) attaching cyclonic air pre-
cleaner (2) side bracket and wiring harness clip to body
panelling and place to side.
6. Remove retaining bolt (3) attaching cyclonic air pre-
cleaner front bracket to body panelling.
7. Release the clip (4) holding the harness to the pre-
cleaner.
8. Remove air pre-cleaner from air cleaner body and retain
for return to customer.
FIGURE 2
21
110 - 15 Nm
1
HOLDEN LTD
Division of HOLDEN Ltd ACN 006 893 232
COPYRIGHT
Reproduction in whole or part
prohibited without written approval
FD1248
08DE04
Page 3 of 5
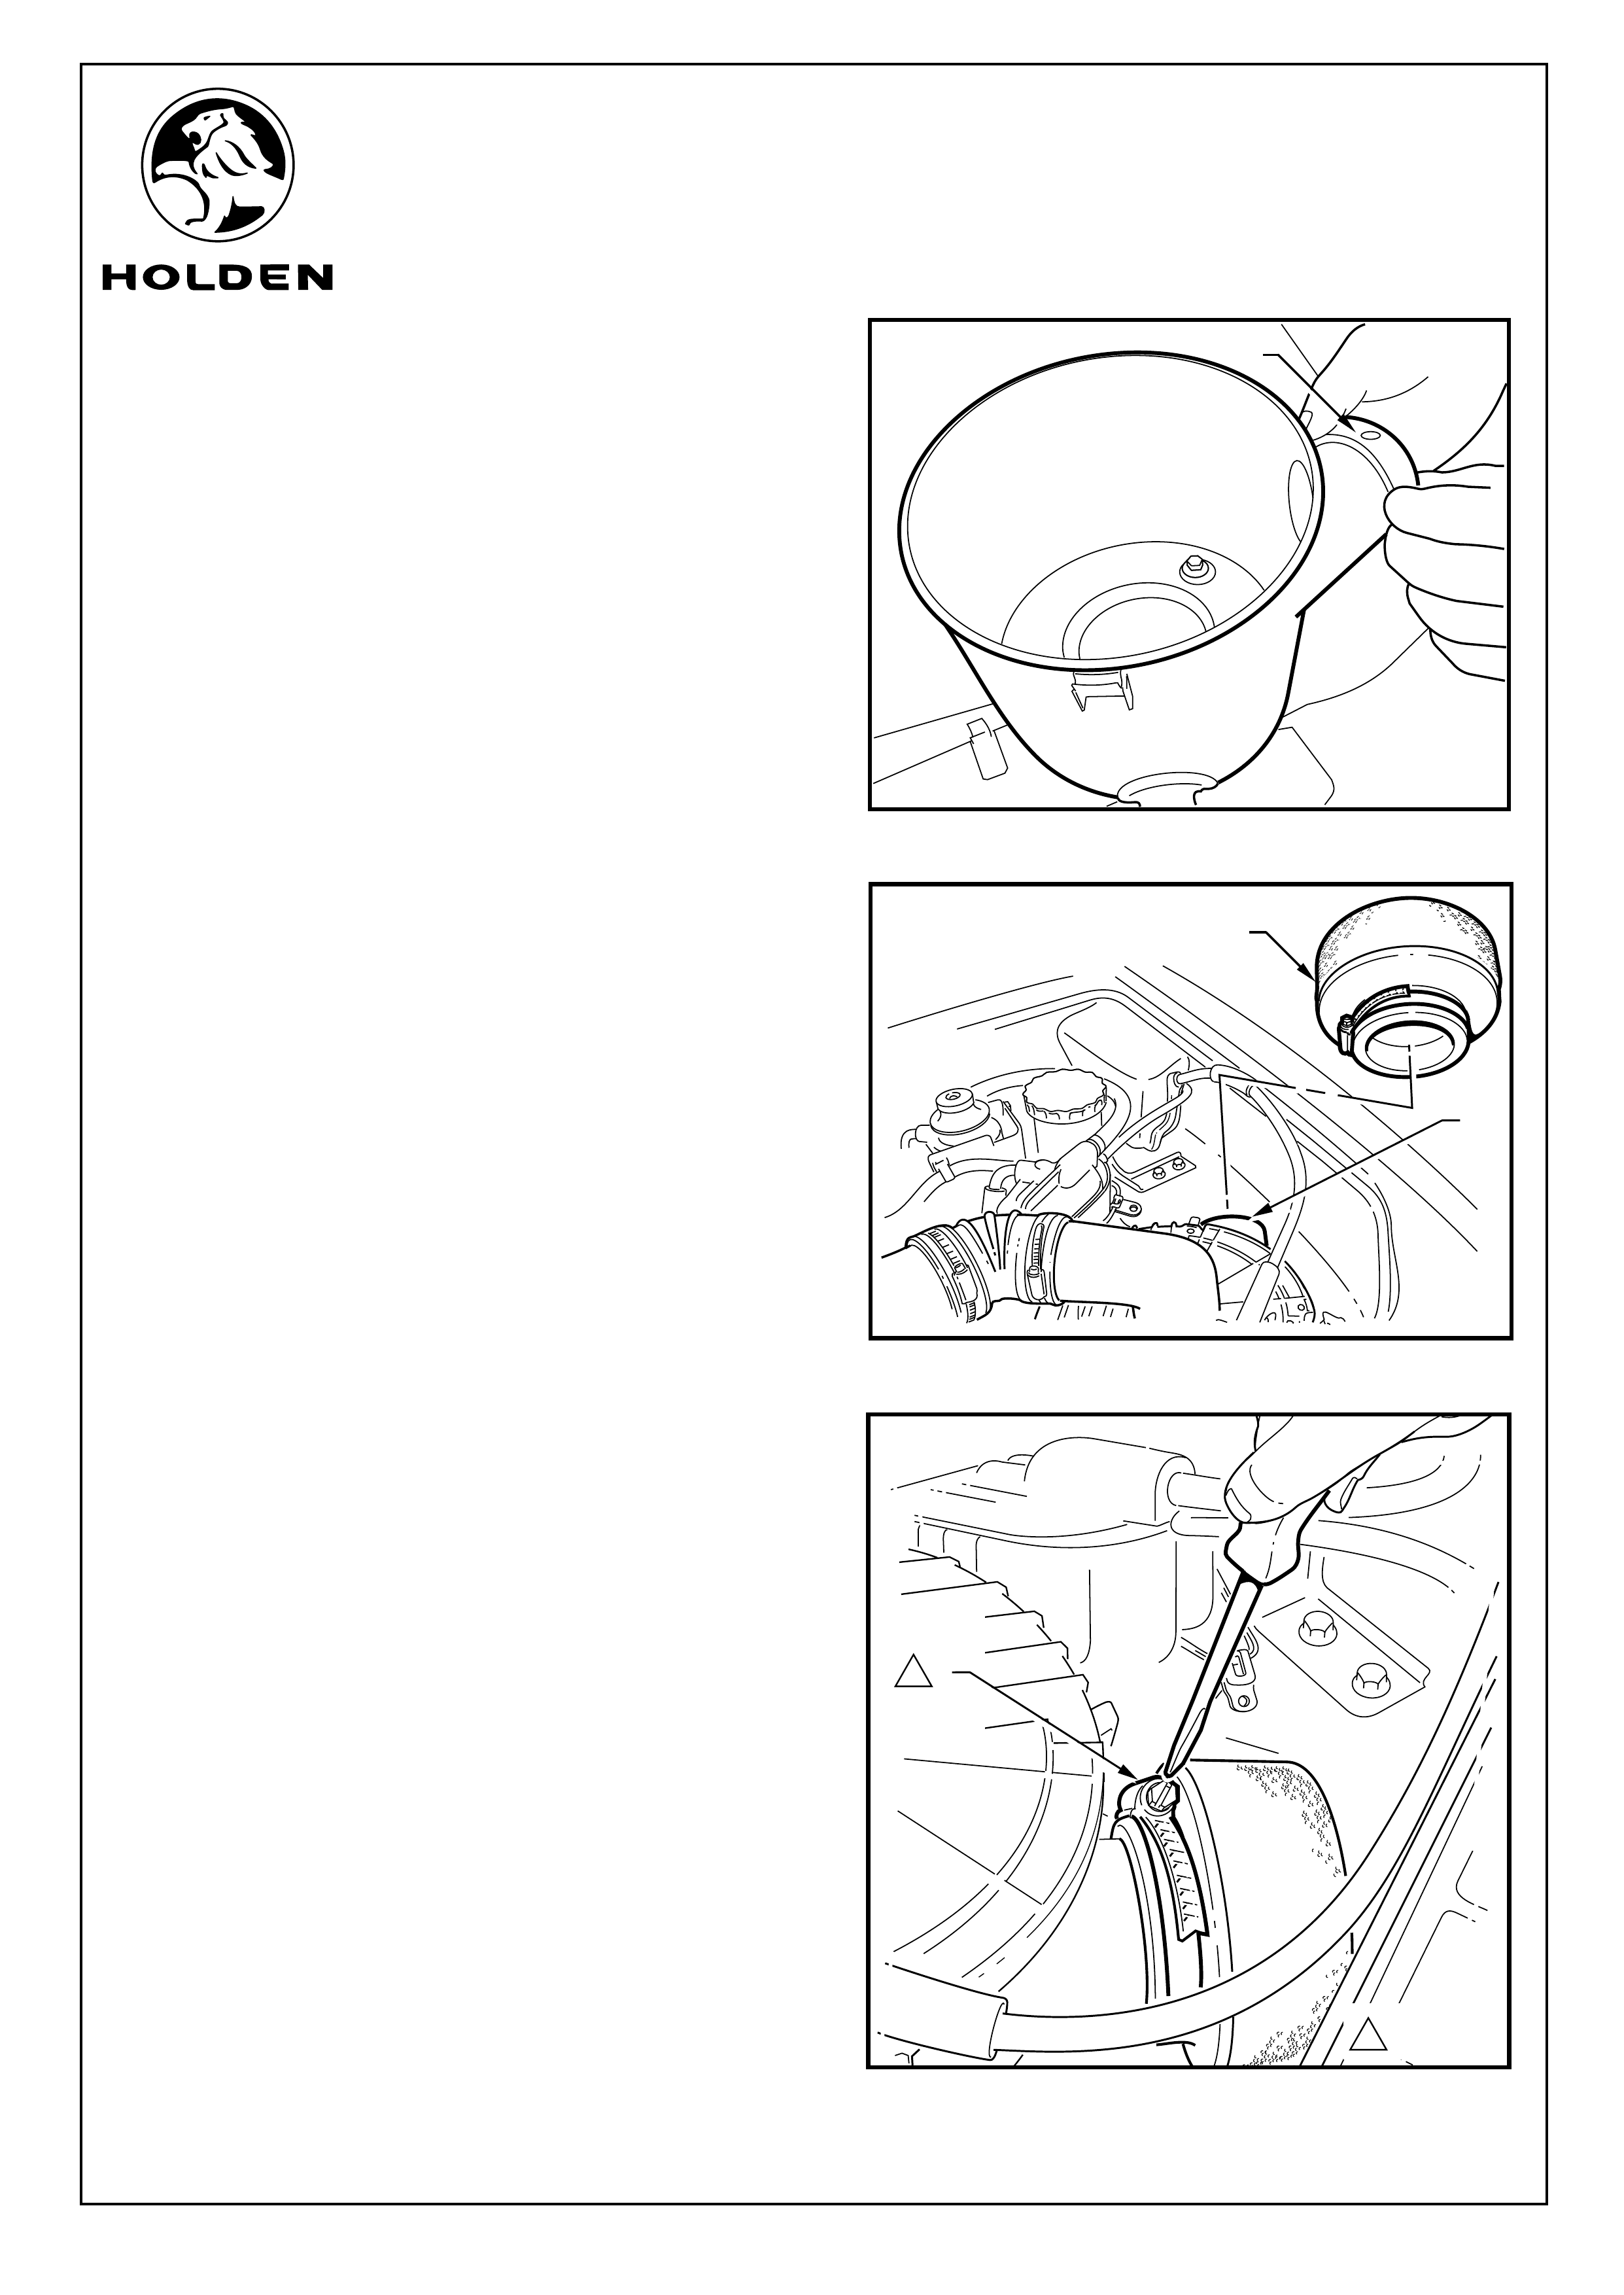
FITTING INSTRUCTIONS: Continued ...
Refer to Figure 5.
10. Reinstall air cleaner body and tighten air cleaner body
retaining bolts with washers to specified torque, Refer to
Figure 2.
11. Reinstall paper filter into air cleaner body and position air
cleaner cover over air cleaner body.
12. Fit new air pre-cleaner (1) with ring clamp to air cleaner
body port (2). Refer to Figure 6.
13. Tighten clamp (1) to specified torque fastening air pre-
cleaner to air cleaner body port. Refer to Figure 7.
9. Remove the foam sealing tape (1) from the inlet of the air
cleaner housing (solvent and a scraper may be
required).
FIGURE 6
1
2
FIGURE 7
1
1
13.0 - 5.0 N.m
FIGURE 5
1
HOLDEN LTD
Division of HOLDEN Ltd ACN 006 893 232
COPYRIGHT
Reproduction in whole or part
prohibited without written approval
FD1248
08DE04
Page 4 of 5
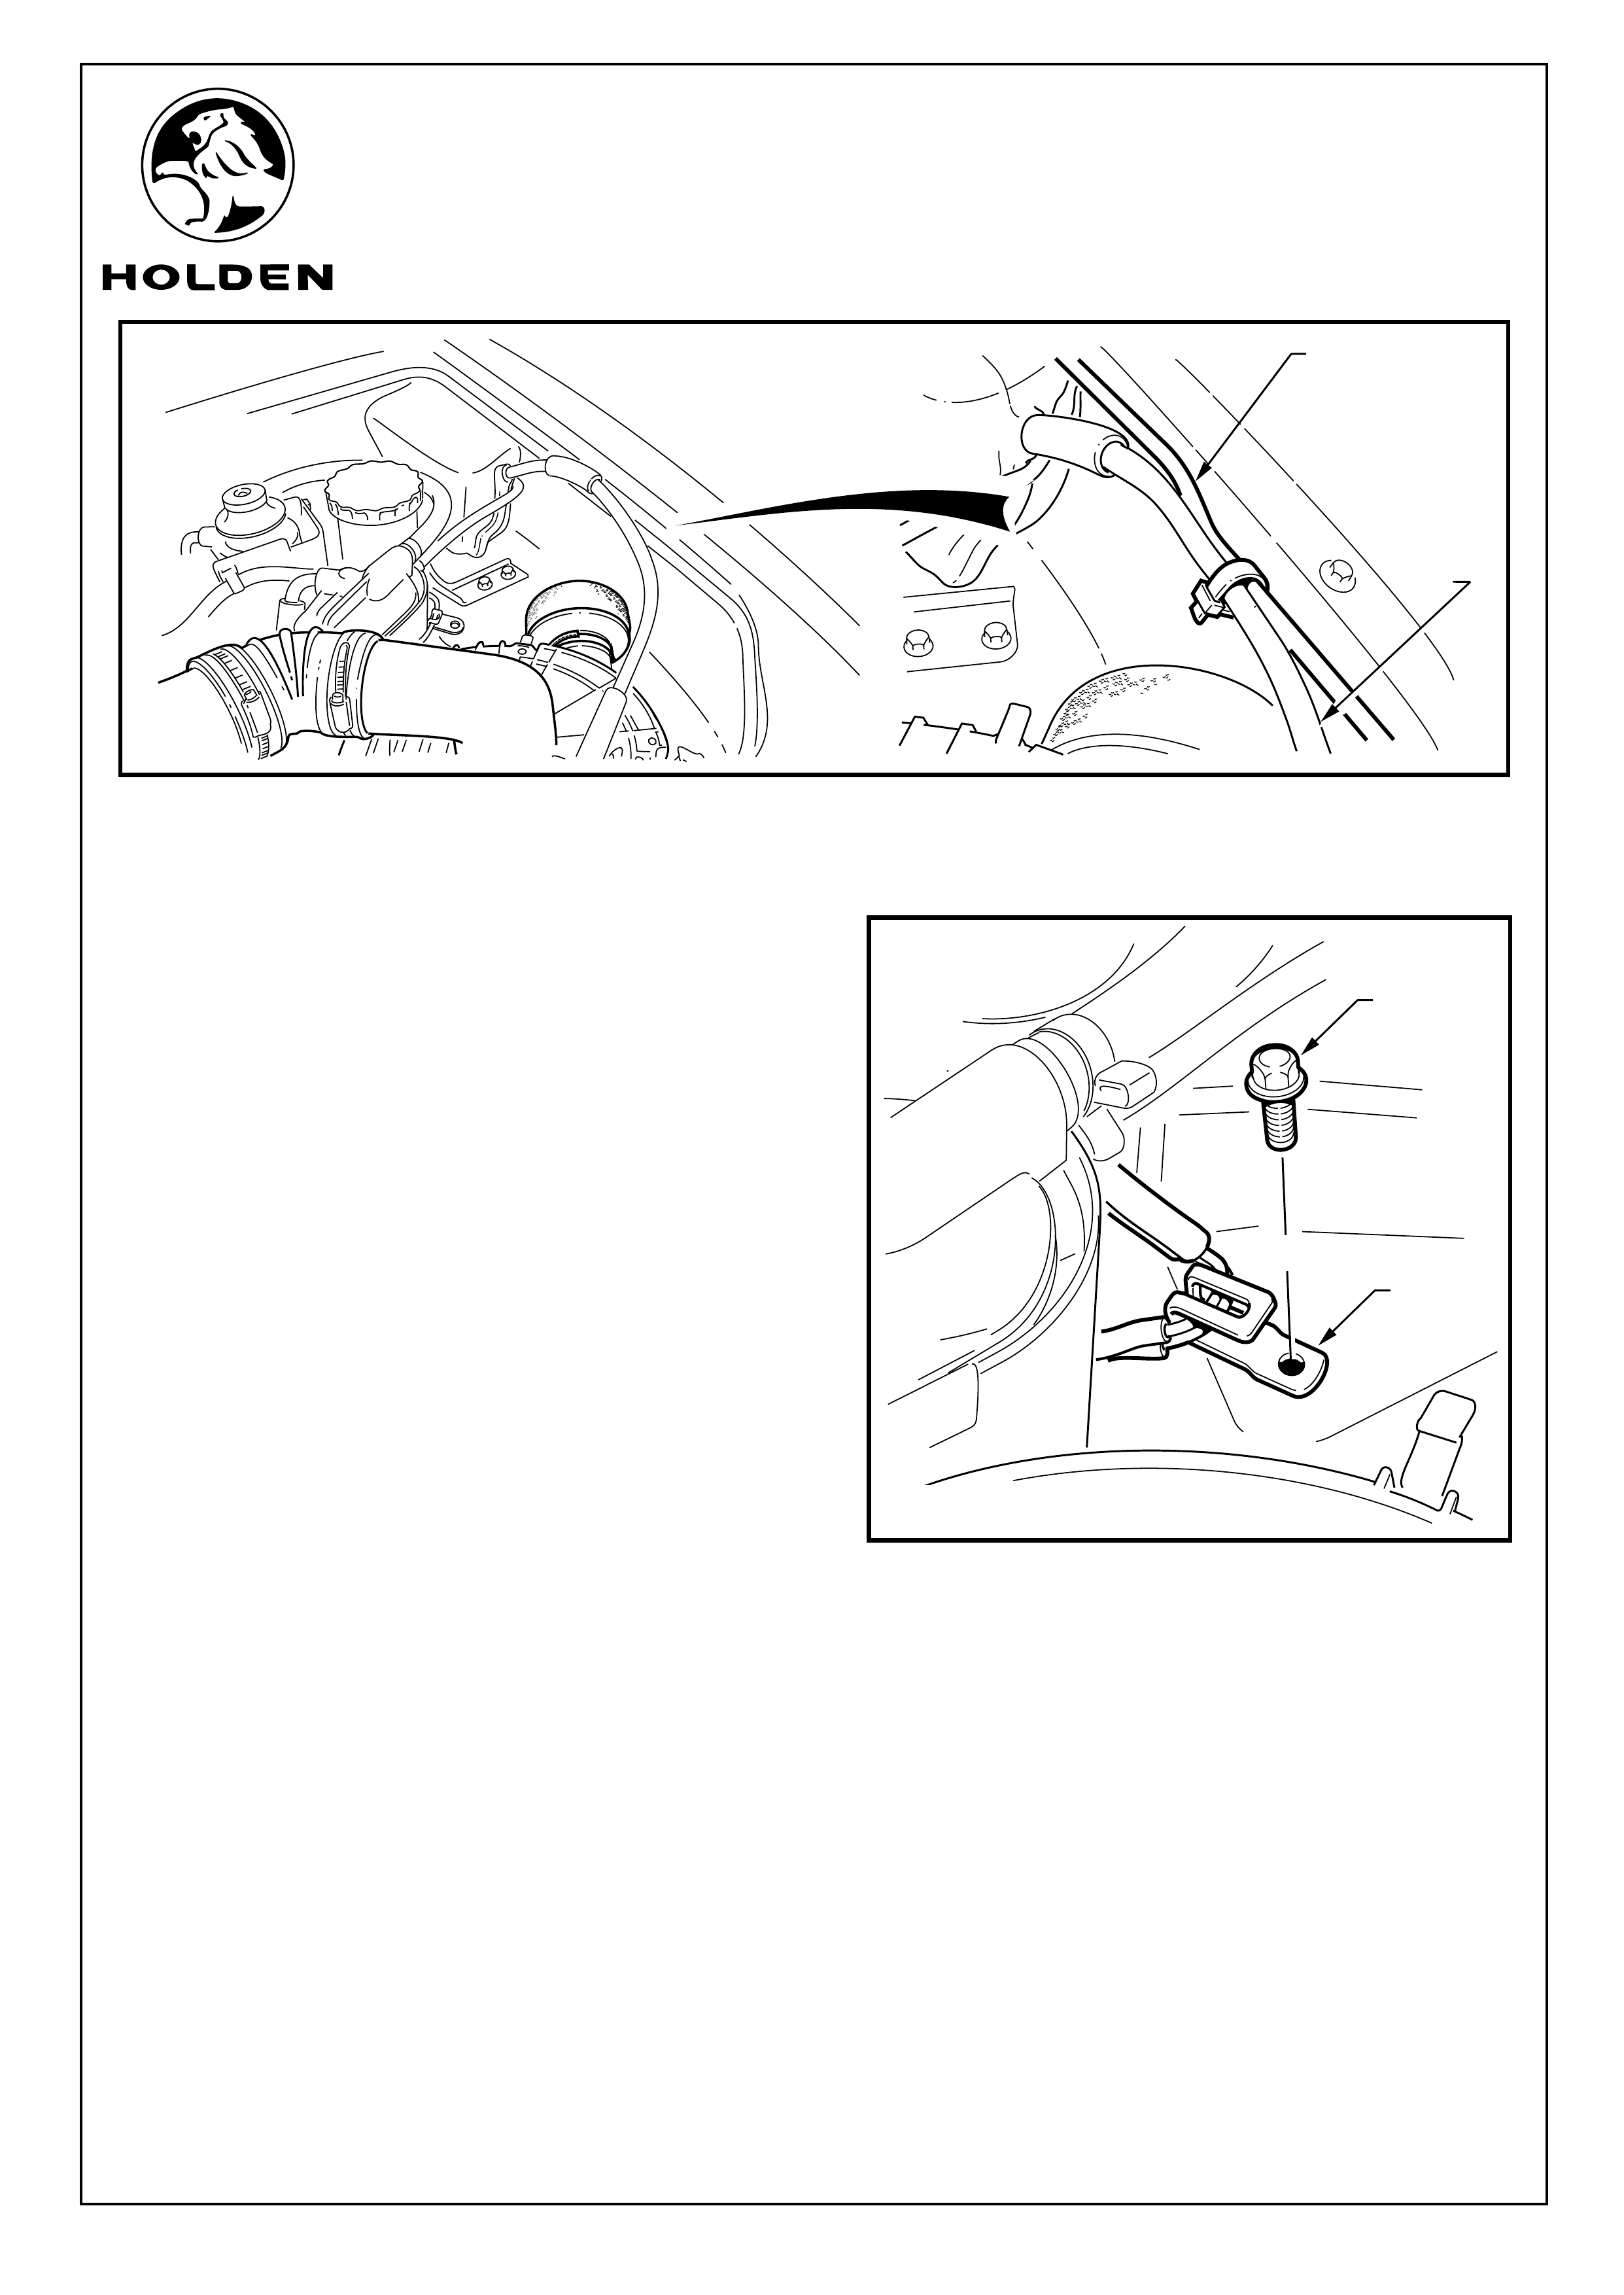
2
1
FIGURE 9
FITTING INSTRUCTIONS: Continued ...
14. Tie strap (not supplied) overflow hose (1), to air
conditioning pipe (2). Refer to Figure 8.
15. Reinstall retaining bolt (1) through wiring clip (2) and
tighten onto body panelling. Refer to Figure 9.
16. Fasten clips, four places, securing air cleaner cover to
air cleaner body.
IMPORTANT:
17. Return cyclonic pre-cleaner and second foam pre-
cleaner to customer.
18. Place fitting instructions and owner service
instructions in vehicles glove box.
FIGURE 8
1
2

HOLDEN LTD
Division of HOLDEN Ltd ACN 006 893 232
COPYRIGHT
Reproduction in whole or part
prohibited without written approval
FD1248
08DE04
Page 5 of 5
PARTS LIST
PART NUMBER DESCRIPTION QUANTITY
92148788 AIR PRE-CLEANER PACKAGE 1
- AIR PRE-CLEANER FILTER ELEMENT 2
- RING CLAMP 1
FD796 - PROOF OF WARRANTY CARD 1
FD1248 - FITTING INSTRUCTIONS 1
NOT INCLUDED IN THE PRE-CLEANER KIT BUT AVAILABLE SEPARATELY
PART NUMBER DESCRIPTION QUANTITY
92147879 FILTER OIL 1
OWNER SERVICE INSTRUCTIONS:
IMPORTANT: When operating in an extremely dusty environment, daily inspection of the pre-cleaner will be
necessary to ensure it is operating at its most efficient.
To service the pre-cleaner element:
1. Check if the outer surface of the pre-cleaner element exhibits dry areas due to trapped contaminants. If the pre-
cleaner is in this condition, remove the pre-cleaner and fit the second pre-cleaner supplied. This will allow continual
operation of the vehicle whilst servicing of the removed pre-cleaner element is carried out.
WARNING: If the pre-cleaner element is allowed to dry out completely, it will cease to operate as a filter and
the main air cleaner element will be subjected to a higher dust loading.
2. Wash pre-cleaner in a small amount (approximately 150 mL) of mineral turpentine (a 10 ltr bucket is a suitable
container).
3. Repeatedly squeeze pre-cleaner in the mineral turpentine, then empty container of contaminated fluid.
IMPORTANT: Please dispose of contaminated mineral turpentine in a manner approved by your local
authorities.
4. Repeat Steps 2 and 3 until the fluid squeezed from the pre-cleaner is clean (several fluid changes may be required).
5. Shake out any remaining mineral turpentine from pre-cleaner.
6. Re-oil the pre-cleaner by first making a 50:50 mix (75 mL of each) of mineral turpentine and filter oil (Holden P/N
92147879) and then working this evenly through the foam element. Squeeze out as much of the excess solution as
possible, allow the mineral turpentine to evaporate for a minimum of 1 hour.
7. The pre-cleaner is now ready to use. Store in a plastic bag to avoid contamination prior to use.
CAUTION: Do not over oil the pre-cleaner, as it will decrease the flow of air into the engine, hindering
performance, and may also damage the main air cleaner element, which may lead to engine damage.