
Radiator Grille Page 1C–1
Page 1C–1
Section 1C
Radiator Grille
ATTENTION
Before performing any service operation or other procedure described in this Section, refer to Section 00
Warnings, Cautions and Notes for correct workshop practices with regard to safety and/or property damage.
1 General Information............................................................................................................................... 2
2 Service Operations................................................................................................................................3
2.1 Radiator Grille Assembly.......................................................................................................................................3
Remove ...................................................................................................................................................................3
Disassemble ...........................................................................................................................................................3
Reassemble ............................................................................................................................................................4
Reinstall ..................................................................................................................................................................4
3 Torque Wrench Specifications............................................................................................................. 5

Radiator Grille Page 1C–2
Page 1C–2
1 General Information
This Section describes the replacement and disassemble of the radiator grille assembly fitted to MY 2004 VY Series
AWD vehicles.
The radiator grille assembly is attached to the front bumper fascia. It is a one piece, single bar design that is common to
all MY 2004 Series AWD vehicles.
Radiator Grille Page 1C–3
Page 1C–3
2 Service Operations
2.1 Radiator Grille Assembly
LT Section – 07-500
Remove
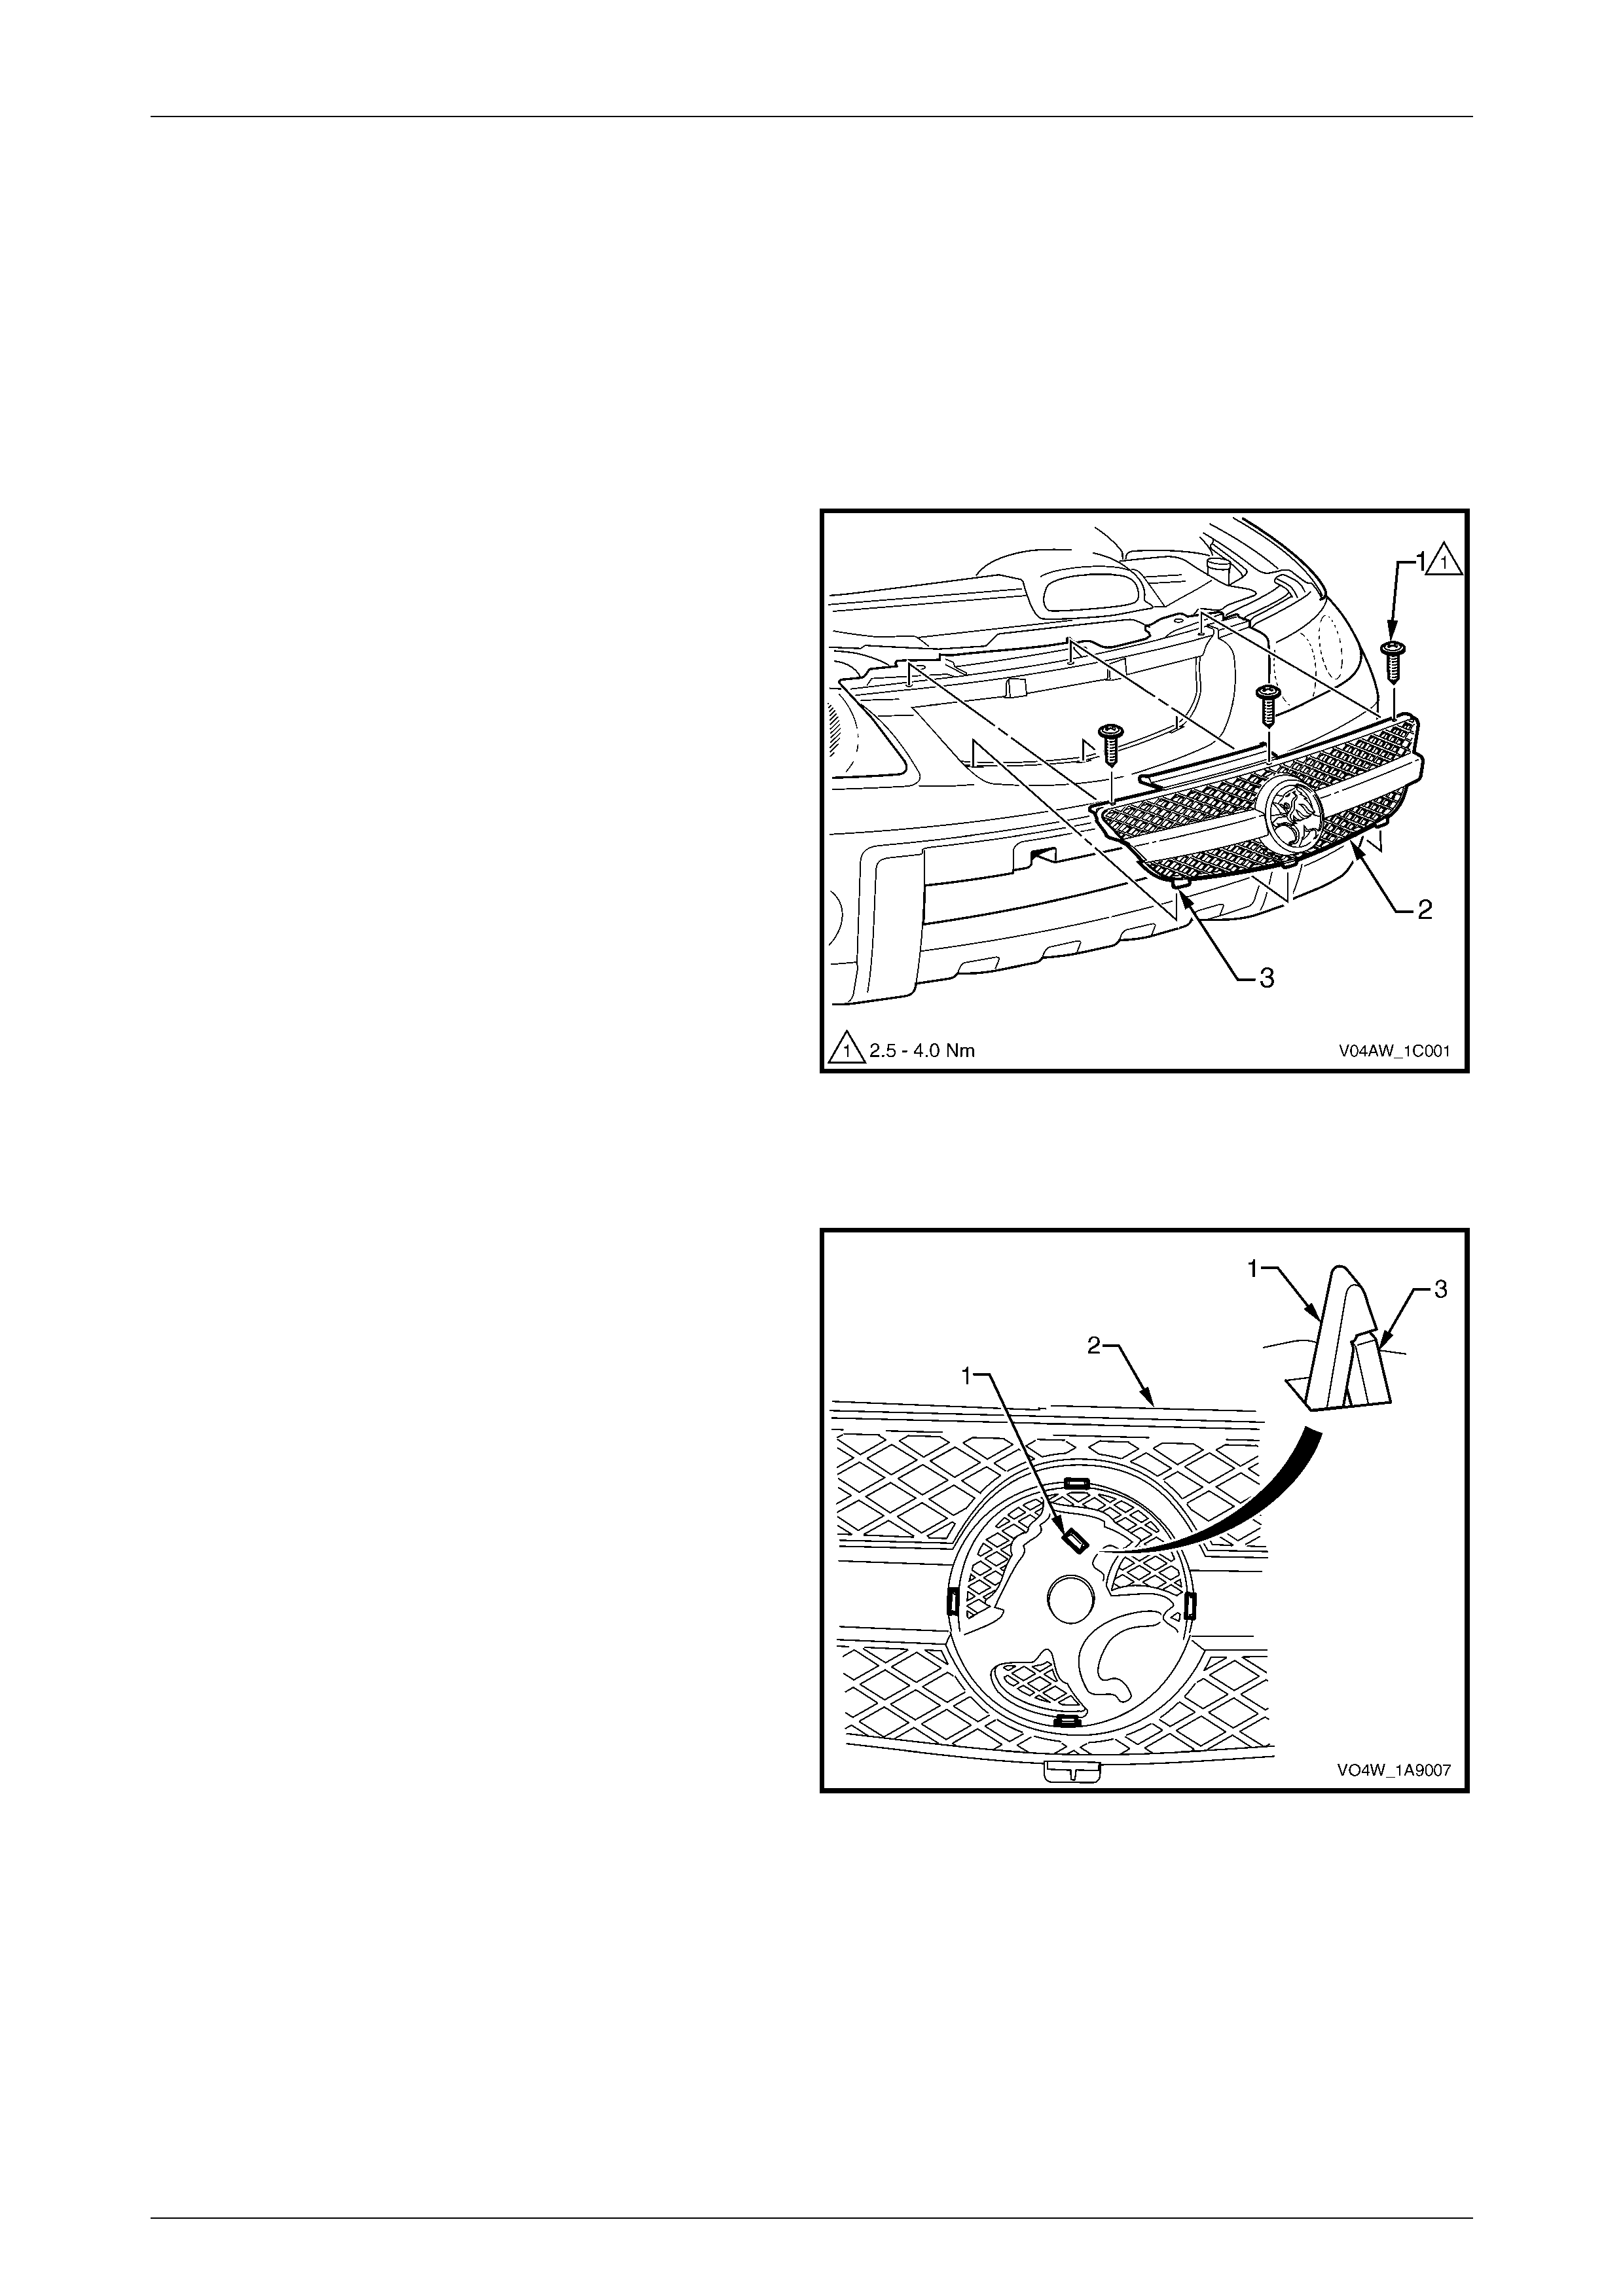
1 Open the hood.
2 Remove the three screws (1) attaching the radiator
grille assembly (2) to the bumper fascia.
3 Tilt the top of the grille assembly forward slightly and
lift it out of the bumper fascia to release the pin (3),
three places, along the lower edge.
Figure 1C – 1
Disassemble
1 From the rear of the radiator grille assembly, depress
the retainer (1), five places, and remove the radiator
grille emblem from the grille assembly.
Figure 1C – 2
Radiator Grille Page 1C–4
Page 1C–4
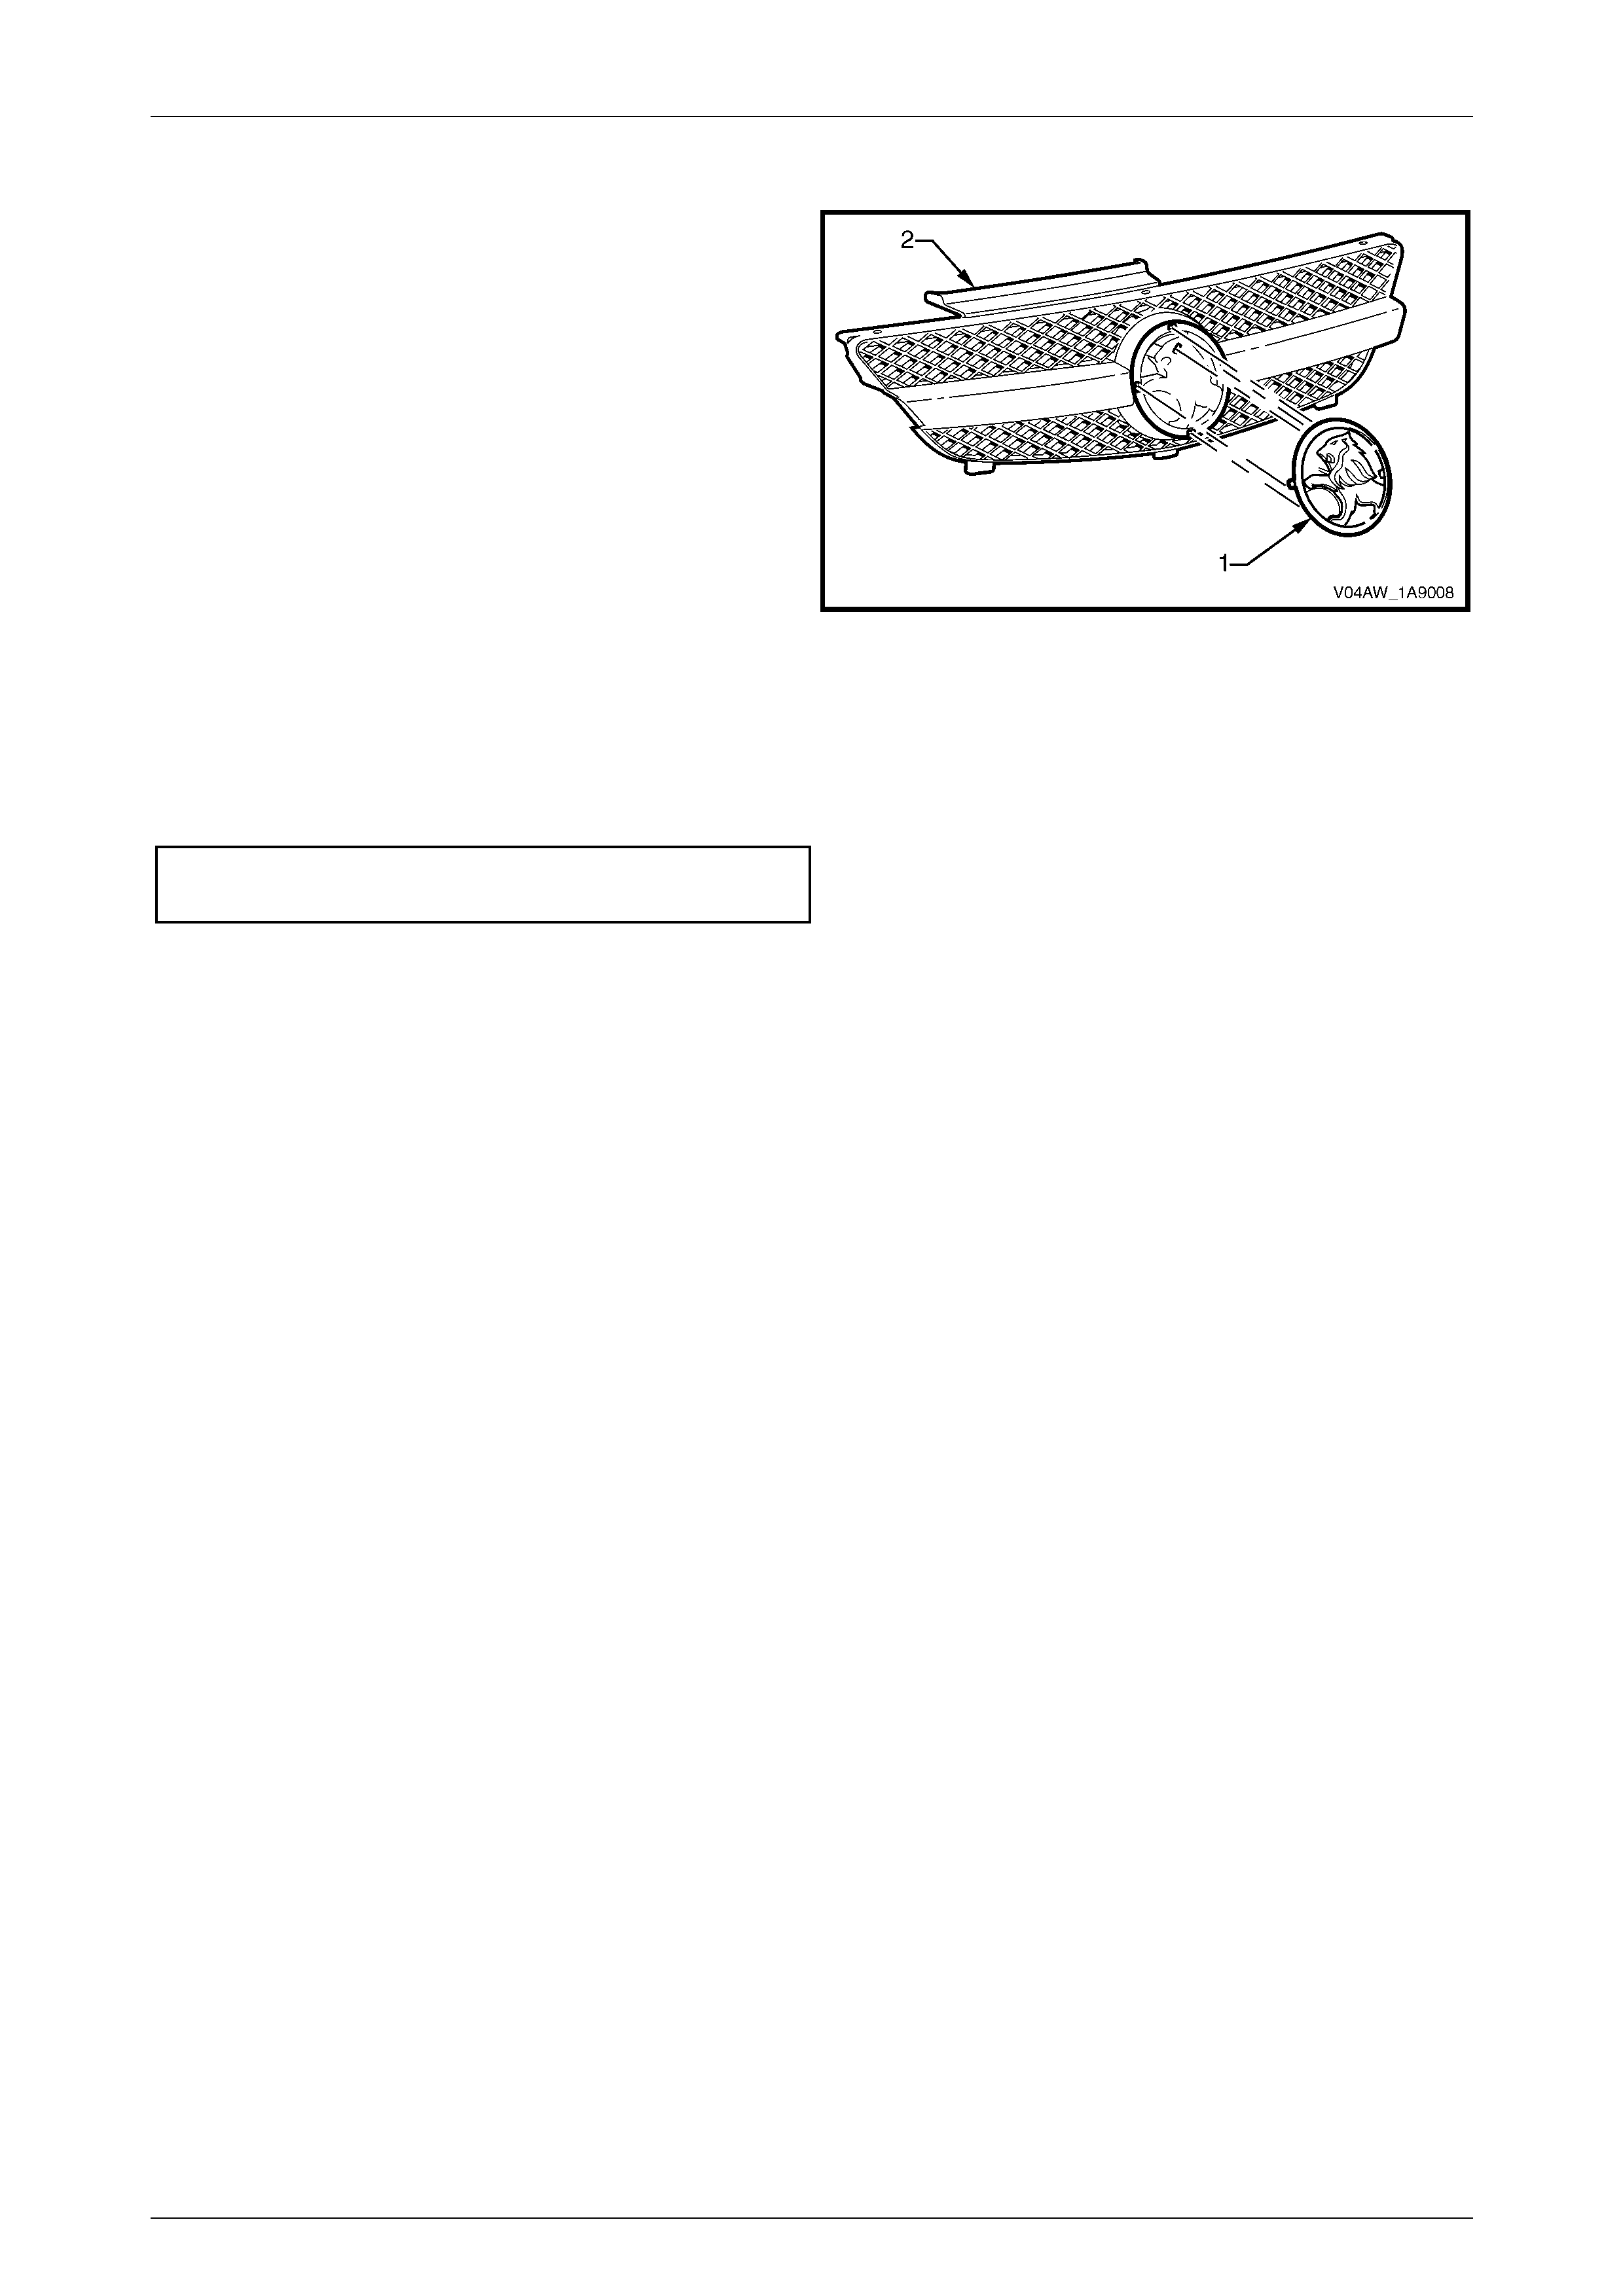
Reassemble
1 Align the emblem (1) by locating the retainers with
their corresponding holes in the grille assembly (2).
2 Fit the components together and ensure the retainers
are seated correctly.
Figure 1C – 3
Reinstall
1 Installation of the radiator grille assembly is the reverse of the removal procedure. Tighten the screws to the correct
torque specif ication.
Radiator grille assembly attaching
screw torque specification..........................2.5 – 4.0 Nm

Radiator Grille Page 1C–5
Page 1C–5
3 Torque Wrench Specifications
Radiator Grille Assembly Attaching Screw.....................................2.5 – 4.0 Nm