

Service Precaution
WARNING: THIS VEHICLE HAS A SUPPLEMENTAL
RESTRAINT SYSTEM (SRS). REFER TO THE SRS
COMPONENT AND WIRING LOCATION VIEW IN
ORDER TO DETERMINE WHETHER YOU ARE
PERFORMING SERVICE ON OR NEAR THE SRS
COMPONENTS OR THE SRS WIRING. WHEN YOU
ARE PERFORMING SERVICE ON OR NEAR THE
SRS COMPONENTS OR THE SRS WIRING, REFER
TO THE SRS SERVICE INFORMATION. FAILURE TO
FOLLOW WARNINGS COULD RESULT IN
POSSIBLE AIR BAG DEPLOYMENT, PERSONAL
INJURY, OR OTHERWISE UNNEEDED SRS SYSTEM
REPAIRS.
CAUTION: Always use the correct fastener in the
proper location. When you replace a fastener, use
ONLY the exact part number for that application.
HOLDEN will call out those fasteners that require a
replacement after removal. HOLDEN will also call
out the fasteners that require thread lockers or
thread sealant. UNLESS OTHERWISE SPECIFIED,
do not use supplemental coatings (Paints, greases,
or other corrosion inhibitors) on threaded fasteners
or fastener joint interfaces. Generally, such
coatings adversely affect the fastener torque and
the joint clamping force, and may damage the
fastener. When you install fasteners, use the
correct tightening sequence and specifications.
Following these instructions can help you avoid
damage to parts and systems.
Air Cleaner
Removal
1. Remove the manifold airflow (MAF) and the intake
air temperature (IAT) sensor wiring connector.
2. Remove the clamp attaching the air intake hose to
the common chamber.
3. Remove the crankcase ventilation hose from the
air intake hose.
4. Release the clips attaching the upper section o
f
the air cleaner housing to the lower section, then
remove the upper section of the air cleane
r
housing by sliding it slightly to the right-hand side
while lifting it up.
5. Disconnect the air intake hose from the common
chamber.
6. Remove the air cleaner element from the housing.
P1010024
Inspection
Inspect the air filter element for the following:
z Damage to the sealing surface.
z Holes in the element.
z Contamination or excessively dirty.
Replace the air cleaner element if any of these
symptoms are found.
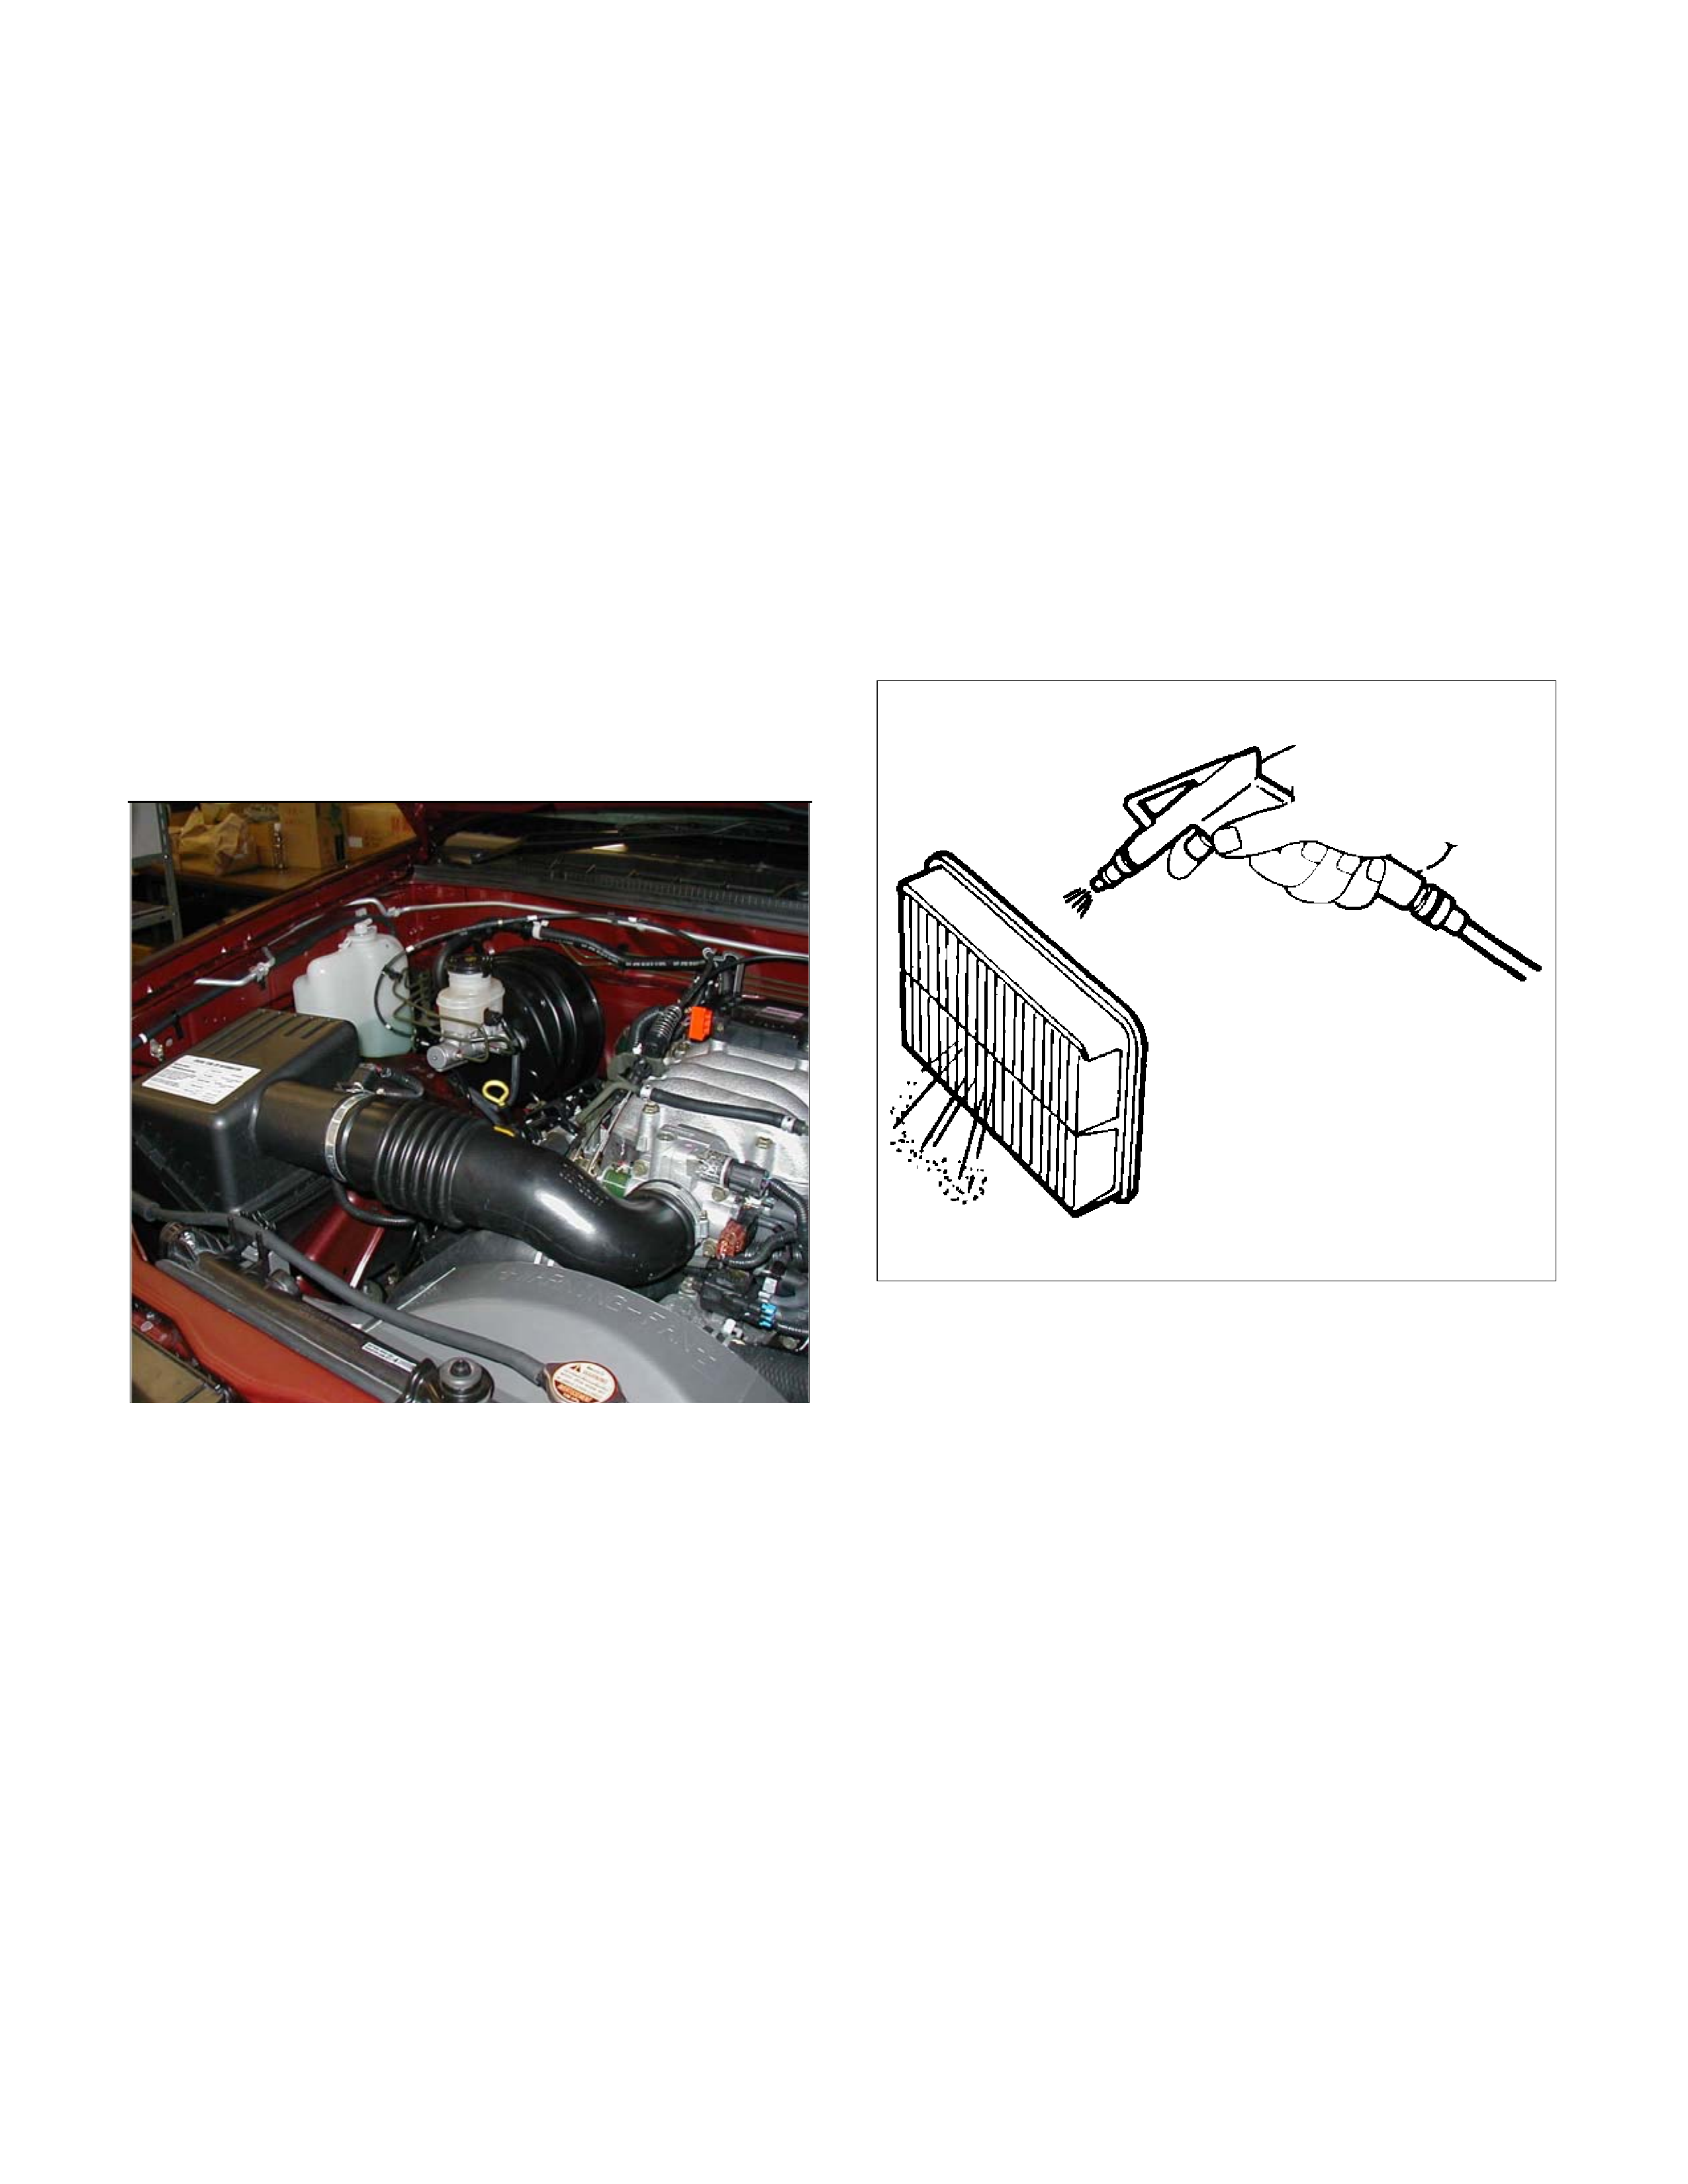
Cleaning Method
NOTE: It is recommended that the air cleaner element
be replaced if dirty, however minor cleaning is
permissible. The air cleaner element is a dry type
element and is not to be cleaned with fluids.
1. Gently tap the air cleaner element on a flat
surface.
CAUTION: Use extreme care when using
compressed air to clean paper type elements as the
air pressure can damage the air cleaner element.
NOTE: Alternatively, the element can be cleaned by
carefully blowing the element with compressed air from
a distance of about 490 kPa (71 psi). This is done from
the engine side of the element.
130RW002

Installation
1. Clean the air cleaner housing by wiping the ai
r
cleaner housing out with a clean cloth.
2. Install the air cleaner element into the lowe
r
section of the housing.
NOTE: The air cleaner element is to be installed with
he bulk of the element facing downward. t
RTW46JSH000101
3. The remainder of the installation process is the
reverse of the removal procedure, ensuring the
clamp attaching the air intake hose to the common
chamber is tightened to the correct torque
specification.
Air intake hose clamp:
Torque: 2.5 Nm (0.25 kgm/2 lb ft)